From concept art to animation: Bring fantasy characters to life with Ziva VFX


As a Senior TD Generalist with Unity Wētā Tools, I regularly craft game trailers and cinematics, character rigging, cloth simulation, animation tooling, and more. So it’s little wonder I spend my spare time experimenting with incredible artistry tools.
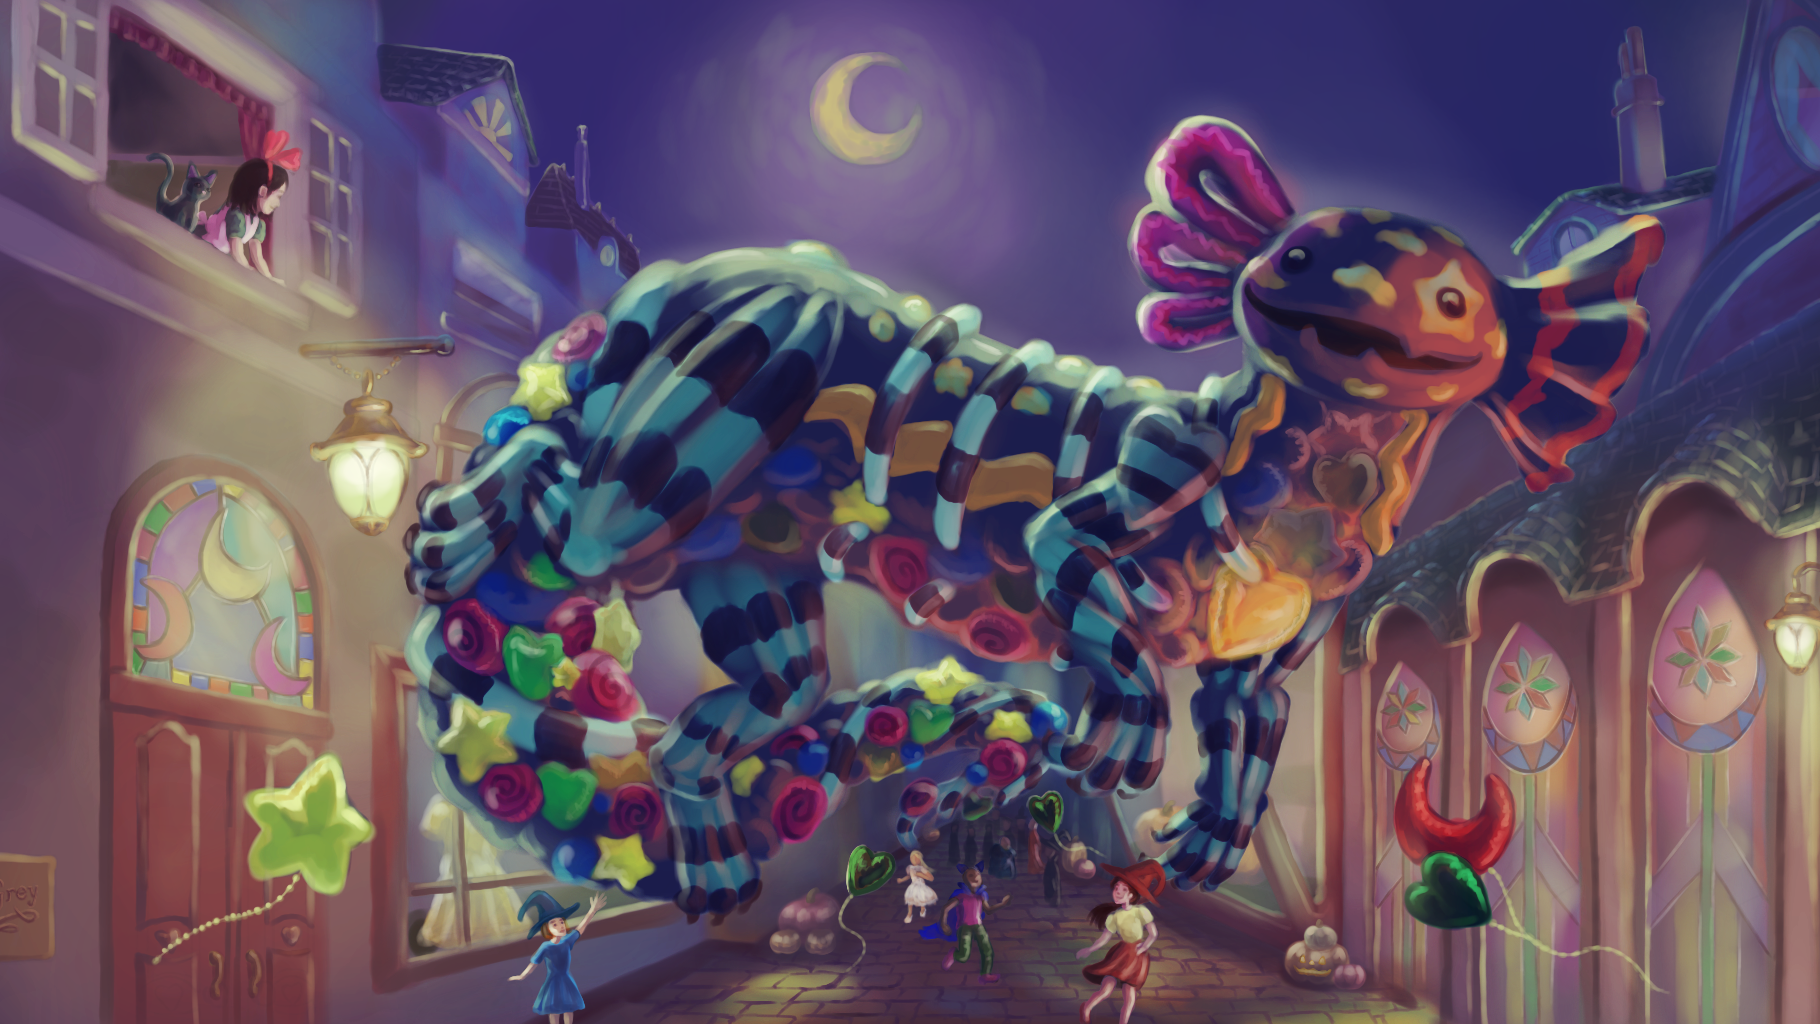
My latest personal project – Balluna – has been seven months in the making.
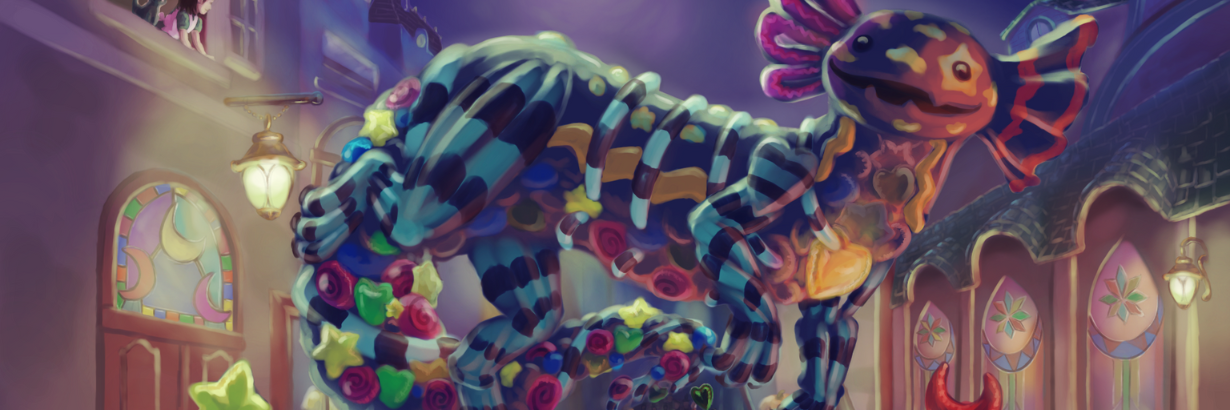
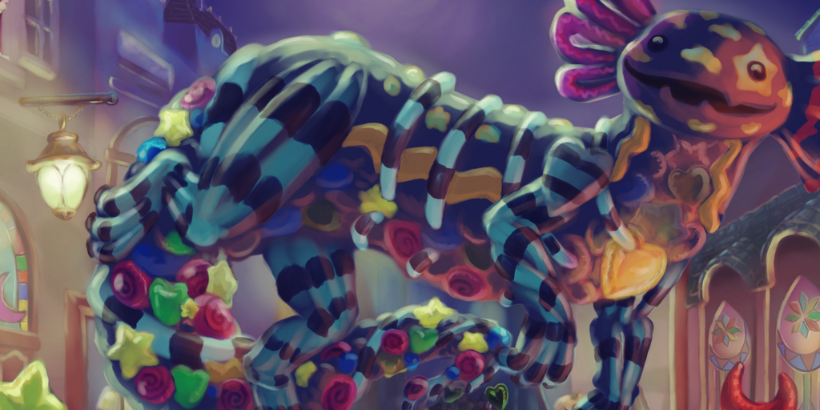
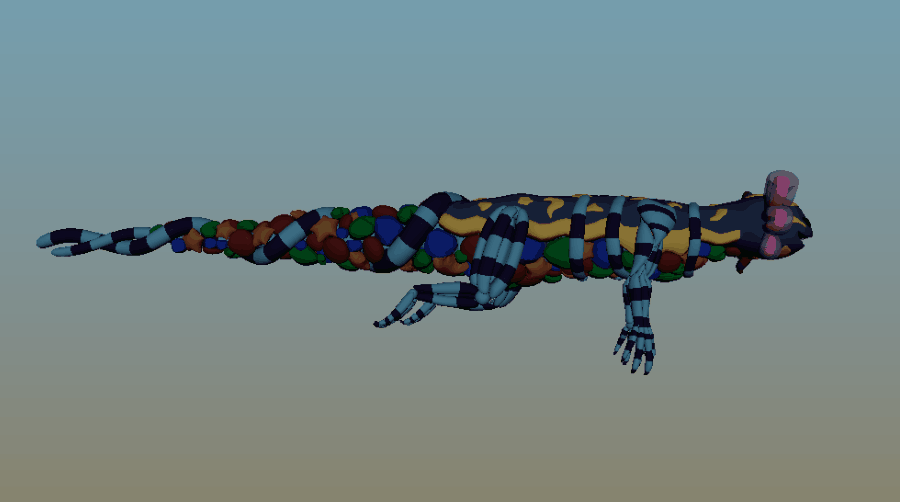
Halloween is one of my favorite holidays, so I challenged myself to use Ziva VFX for something other than simulating muscle and tissue. Here’s how I brought an enchanted balloon-like animal made of Halloween parade balloons to life.
Design language
There are a couple of design concepts I explored: asymmetry and juxtaposition of shapes.
I wanted to play with how different shapes contrasted with one another. For example, my character’s right arm and left leg are modeled to have anatomical muscle structures like deltoid, bicep and tricep, arm extensors, hamstrings, and calf muscles. Conversely, the left arm and right leg are stylized tubes.


I found that using striped textures tied the different shapes together well, so I repeated that theme throughout. That also resulted in a nice contrast against the round bubbly shapes of the balloon clusters.
The body of the character is based on an Axolotl, since their frilly heads reminded me of candy. As I was conceptualizing the animation, I decided not to explore the typical swimming style of an Axolotl, but instead to animate in a more fluid and “floaty” way. To achieve this, I looked at the structure of otters and how their bodies moved underwater.
VFX tools used
- 2D software: Krita
- Modeling: ZBrush and Maya
- Rigging and animation: Maya
- Simulation: nCloth, nHair, and Ziva VFX
- Texturing: Substance 3D Painter
- Shading and rendering: Arnold
- Compositing: Natron
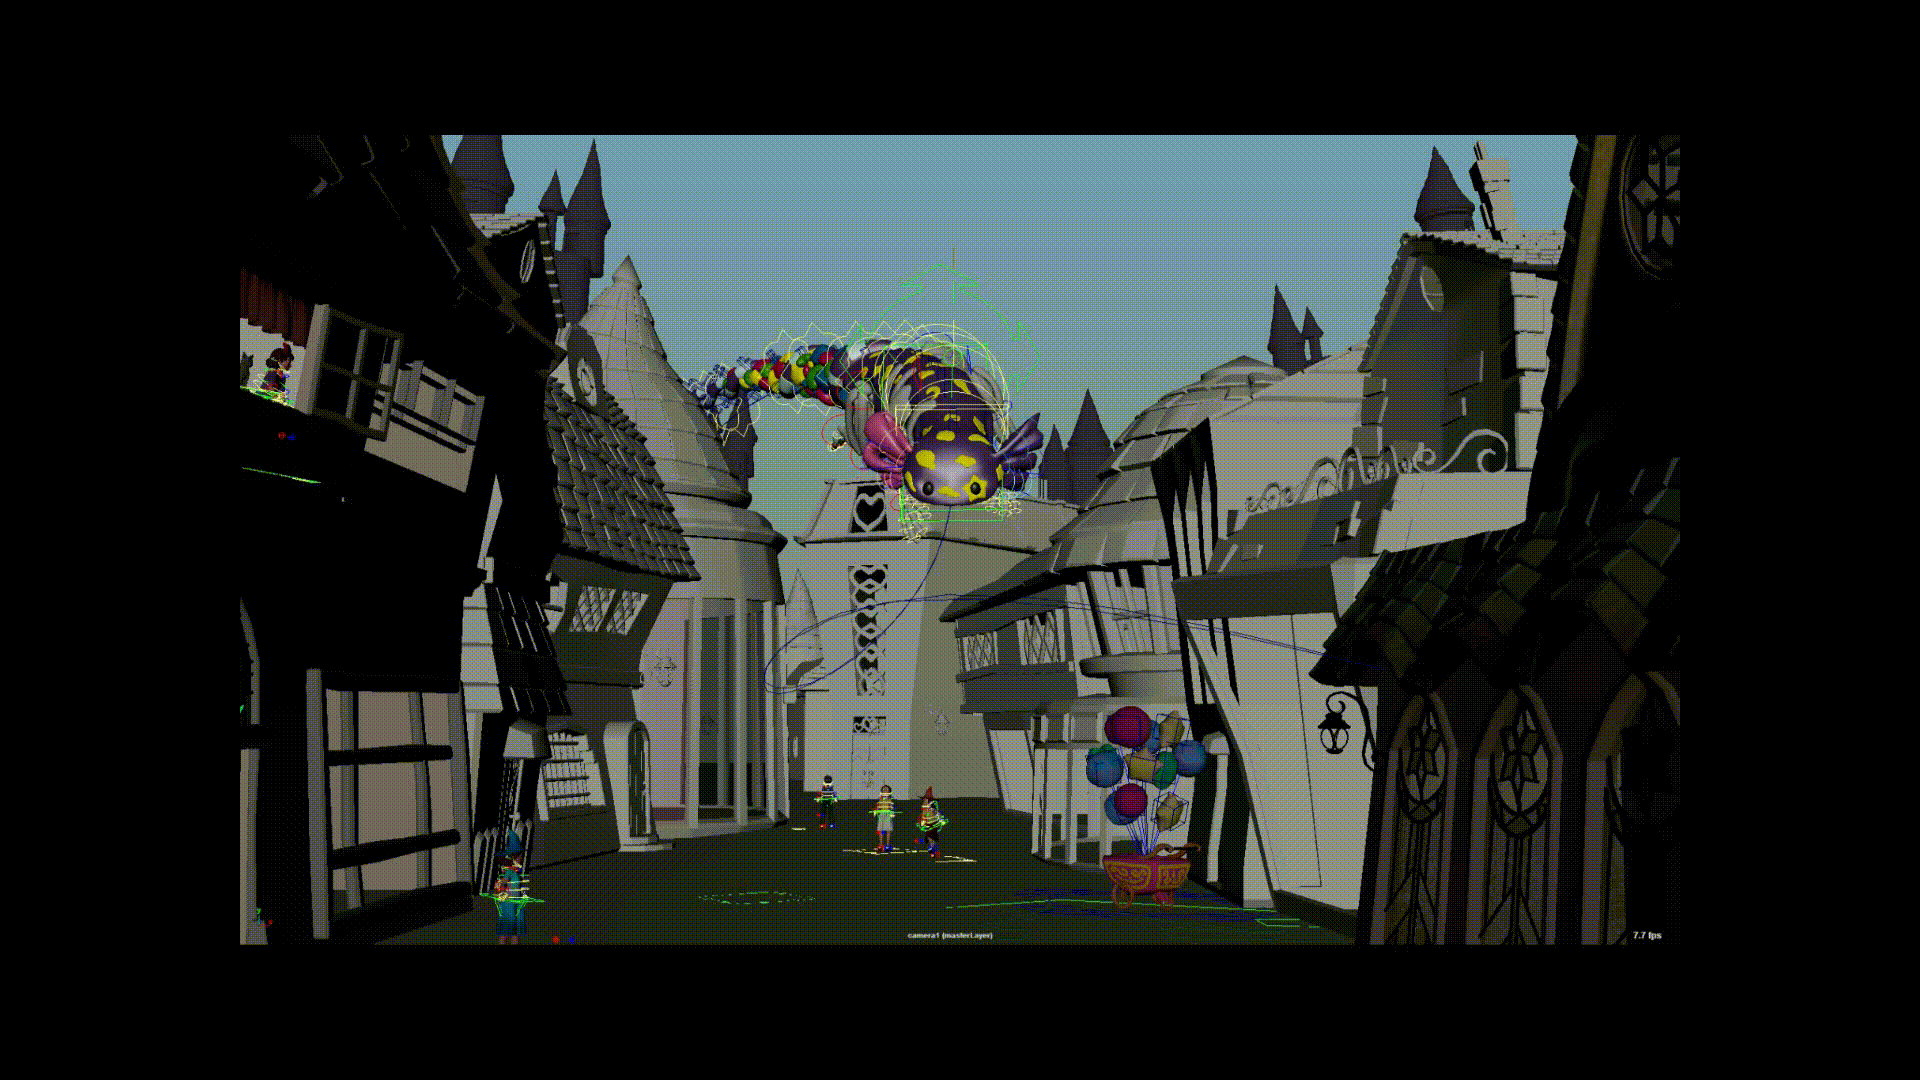
Animation workflow

I started by sketching using pencil and paper, and then used Krita to paint the concept art.
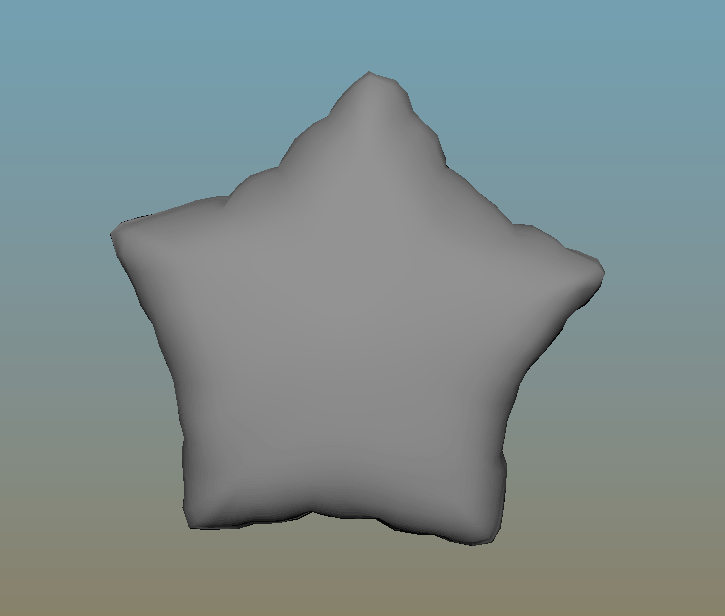
For modeling, I blocked out shapes using simple primitives in Maya and then brought them into ZBrush for sculpting detail work. This included wrinkles on the balloons and combining shapes together to form Balluna’s body – as well the other characters’ bodies.
Once the model’s sculpts were done in ZBrush, I then brought it back to Maya to do re-topo and UV work so the geometry was friendly to rig, animate, and texture.
Next came the rigging and animation using Maya’s default animation tools. I set up a simulated spine using nHair to help create gentle animation on Balluna’s spine. The balloon cart’s strings were also simulated using nHair.
Balluna herself was simulated using Ziva VFX for more volume preservation. Once all the elements in the scene had final animation and simulation, I cached them out and rendered them using Arnold. Finally, I composited all the rendered passes using Natron.
Ziva VFX breakdown
The goal of using Ziva VFX was to help maintain the volume of each individual balloon and give each balloon a jiggly secondary motion without having to rig and animate every one individually.
Build process
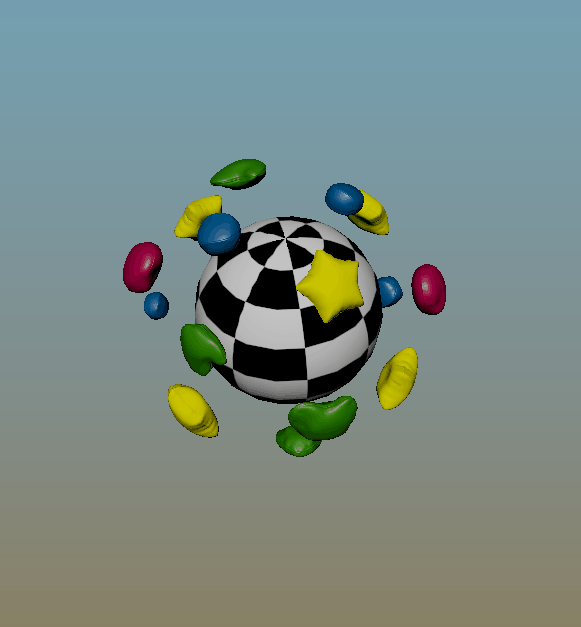
Before I applied Ziva to the character, I did a quick RND test to see if I could achieve my desired design language.
I began by making a few proxy geometries and constrained the balloon to it. This is the inner simulation geometry. The checkered sphere represents the inner tissue geometry of the body. In the final pass, the checkered geometry becomes the inner tissue for Balluna’s belly volume. While it’s rigid in this RND, the geometry also gets simulated in the shot.
The smaller outer shapes are inside of the balloons. These are the inner driver tissues – for the time being.
The inner driver balloons have vertices that are softly constrained to the checkered ball. This allows them to maintain their position relative to the checkered balloon, but still allows some wiggle room for them to move freely.
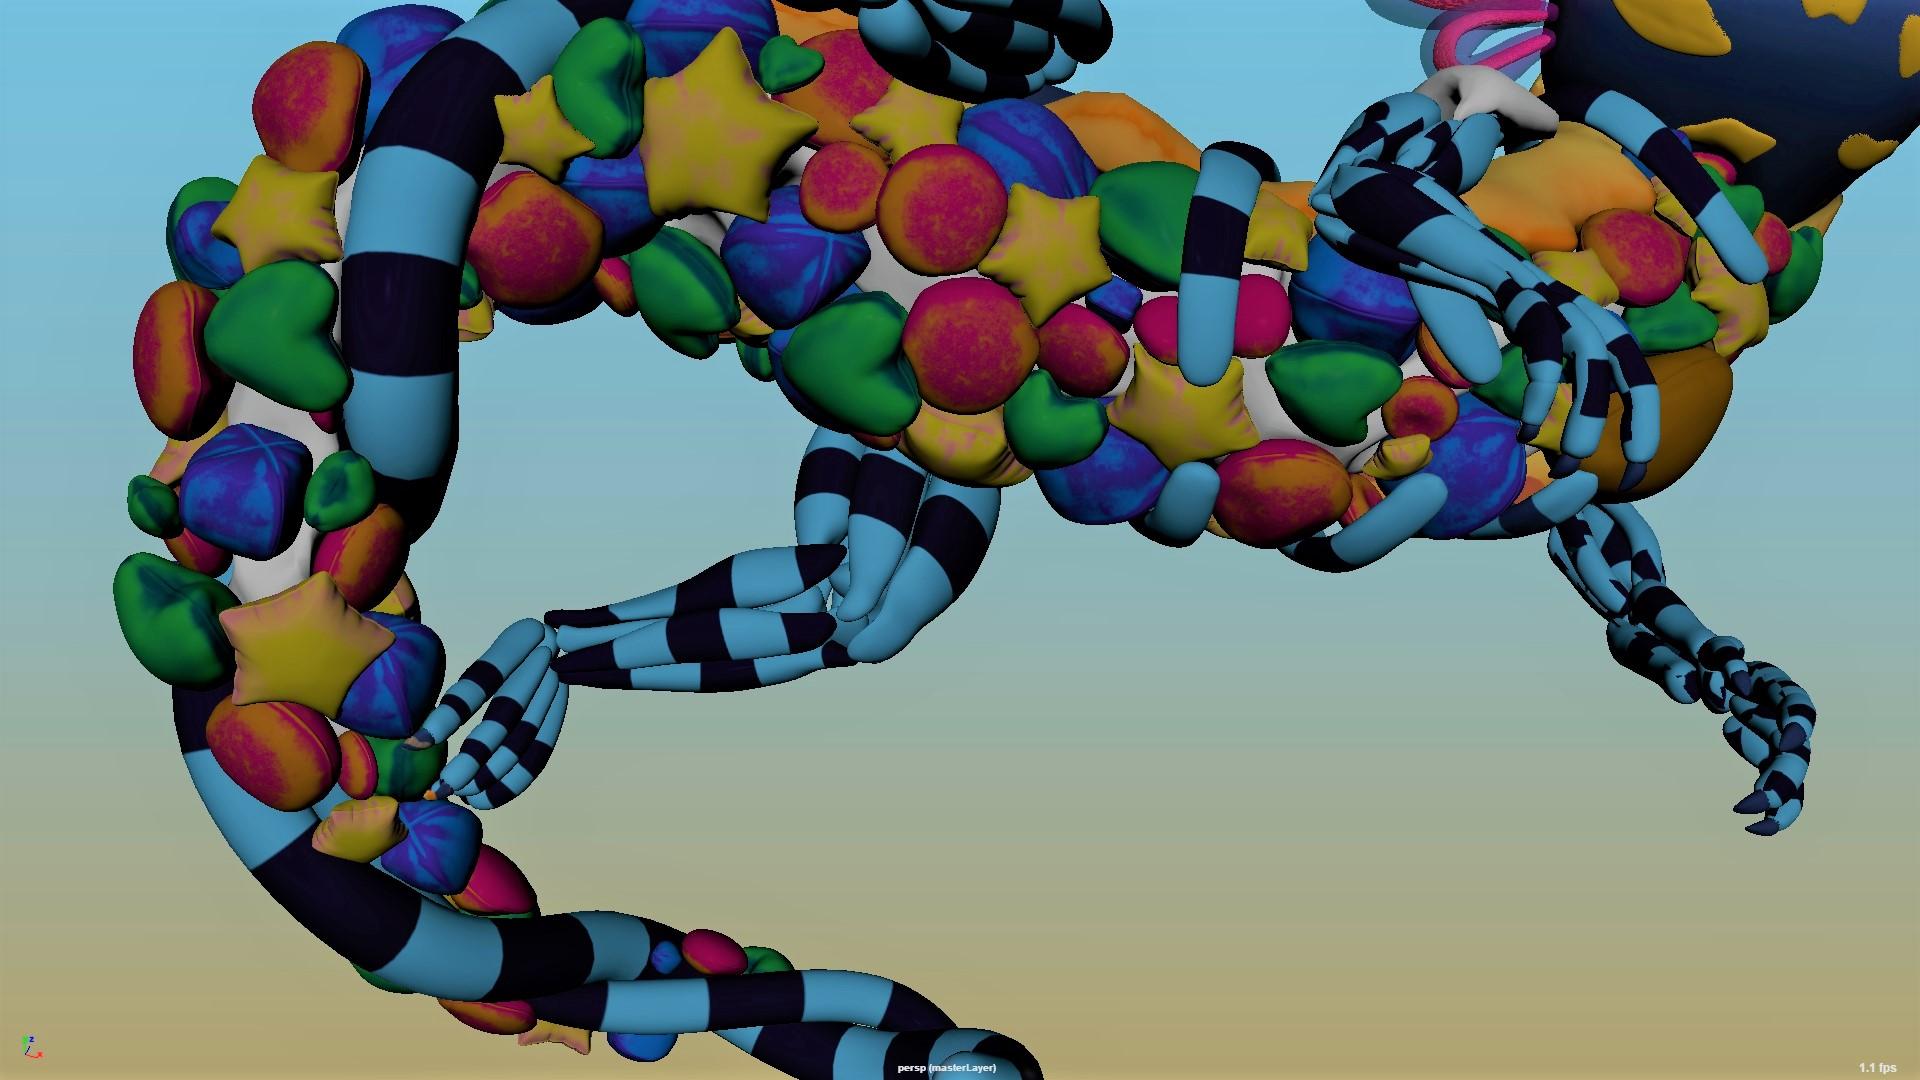
Now that we see how the inside works, we need to see the outer tissues.
The main balloon exterior tissues are each softly constrained to their respective inner driver tissues. So far, we’ve built some soft constraints and simulated the inner and outer tissues. This allows for interesting ping-pong results since the outer tissues can collide with each other and affect the movement of the inside driver tissues, and vice versa.
Here’s how I achieved interactivity between the outer and inner layers:
- The inner checker ball moves.
- This affects the movement of the inner driver tissues, causing the inner tissues to follow.
- The momentum of the inner tissues drives the position of the outer tissue.
- The outer tissues collide with each other, which, through the pushing of the outer geometries, impacts the position of the inner tissue. The settling of the physics between the inner and outer geometries creates a jiggling motion.
I was able to easily achieve this effect with the zAttachment strength attribute, which enabled me to specify how strong I wanted the attachment to be. This helped me determine how strongly I wanted the objects to maintain their offset, and I could change these settings with the click of a button.
This attribute was then applied onto the character, brought into the shot context, and simulated.
Achieving volume
I used Ziva VFX to help give weight to Balluna, adding a jiggly secondary motion through tissue simulation. This phase happened after I cached out the driver bones for the simulation.
One of the main challenges with this character was the balloon-themed design language. Conventional rigging results only look at and deform the exterior of a mesh. If I had approached this from a traditional skincluster deformation – placing the joint in the center of a mesh and painting maps so that the joint transform can offset the vertices baked on the transforms – this wouldn’t maintain volume.
Using a Ziva simulation allowed the balloons’ individual shapes to be maintained.
If we had done this without Ziva VFX, we could have rigged it traditionally by making a joint for each balloon, but this would make the rig really heavy and more animation work would be required. Simulation methods for cloth only simulate the exterior of the mesh, and don’t account for trying to preserve the inner volume of a geometry. This would make the balloon take on a crumpled look when forced into tight spaces.
Since Ziva VFX helps maintain volume, I was able to simplify my rig and leave volume maintenance setups to the simulation, instead of having to rig corrective bone setups using skinclusters.
Ziva VFX enables character artists to mimic the physics of real-world human and animal anatomy, and can be used for hyperrealistic or stylized characters.
Is this article helpful for you?
Thank you for your feedback!
- Unity Labs
- Copyright © 2024 Unity Technologies