Advanced tips for character art production in Unity


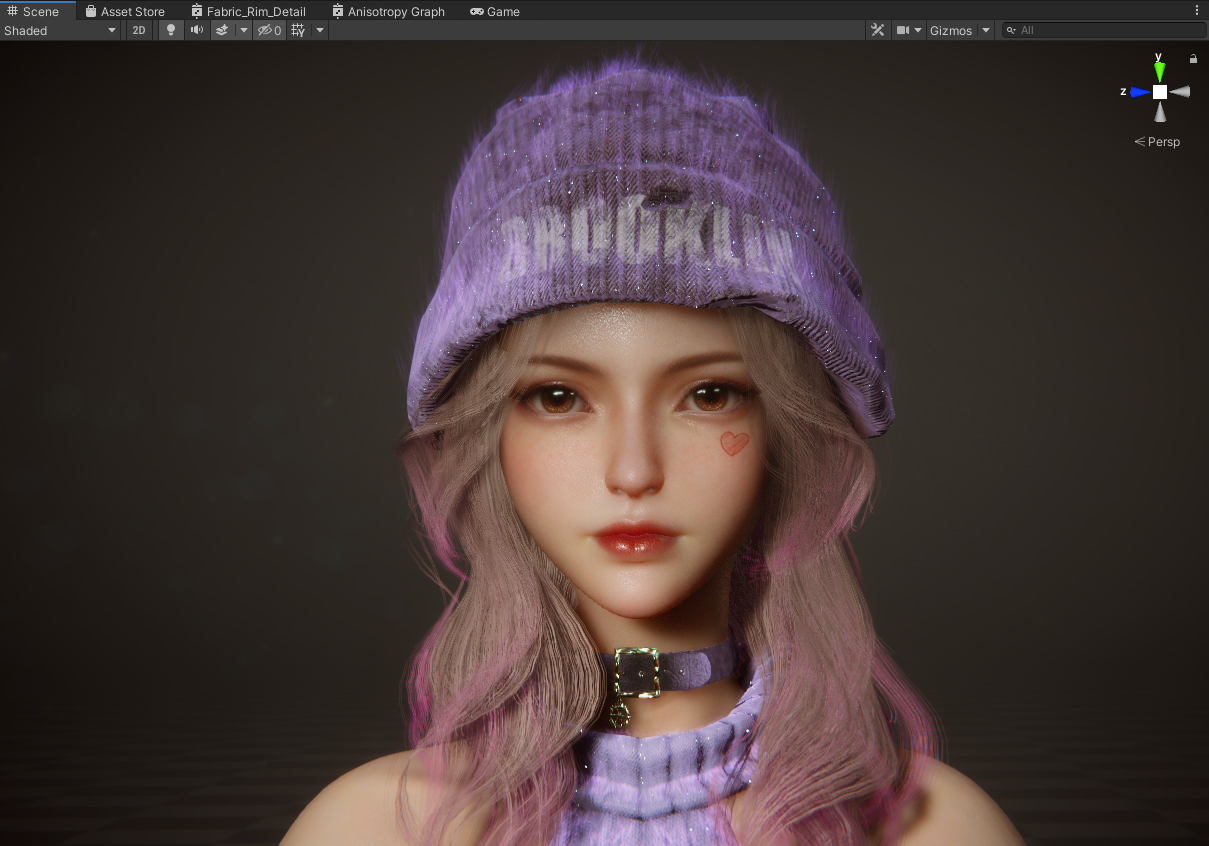
In this guest post, Sakura Rabbit (@Sakura_Rabbiter) shares how she approaches art production and provides tips for creating a realistic character in Unity.
I finally got some free time as of late and it got me thinking… How about I write something about character creation? I’ve just finished creating several characters in a row, and I’m quite familiar with the entire creation process. I’m not referring to things like the art design of worldviews, character backgrounds, or character implementation techniques. There are already plenty of articles that elaborate on those topics, so I won’t touch on them here.
What else, then? After giving it some thought, I’ve decided to prepare an article about producing realistic characters in the Unity Editor.
You might be thinking, “What brings Sakura Rabbit to this topic?” Alas, it’s all because I’ve gone through an uphill journey learning the skill from scratch. I’m writing this so you can learn from my mistakes and reduce errors in your work.
Now, let’s get started!
The 15-step process
Generally speaking, the implementation process of a character model involves the following steps:
- Three-view drawing →
- Prototype model →
- High-precision model →
- Low-polygon topology →
- UV splitting →
- Baking normal map →
- Mapping →
- Skin rigging →
- Skeletal and vertex animation →
- Shader in the engine →
- Rendering in the engine →
- Real-time physics in the engine →
- Animation application and animator →
- Character controller/AI implementation →
- Special effects, voice, sound effects, etc.
There are 15 steps in total. The process might seem complicated, but from a character design standpoint, all these factors and details will influence how your character will ultimately be displayed in your game engine. Therefore, these numerous steps are necessary for the final product to achieve the desired effect. The entire process takes a long time, and all the steps must be done in a specific sequence – every step is crucial. If one isn’t done properly or if you try to cut corners, the final product will be directly affected.
Let’s start by looking at the preliminary preparation work of art production. The 15 steps previously mentioned can be summarized into four main phases:
Original drawing → modeling → animation → rendering
Isn’t this much simpler? Now, let’s get straight to the point. Through my hands-on experience, I’ve learned some things – hopefully you find them useful in your own project!

First of all, you should set up some checkpoints before you start. I’m going to skip the usual ones, such as the vertex counts, the size of the map, the number of bones, etc. Instead, I’m going to focus on the following:
- I’d like this character to have a human skeleton, since this will affect the subsequent AI implementation. The human skeleton is advantageous because it enables you to use the motion capture device or interval animation library to quickly create a set of high-quality animations that can be used on the controller or AI.
- In addition, you also need to plan ahead on the material effects you want for your character. To produce the desired effects, preliminary steps such as the UV, edge distribution, and mapping are indispensable. If you only think about them after completing the model and animation, you will most likely end up reworking your design. It’s best to think about effects ahead of time to avoid doing more work later.
- For some physics effects of the character, physical processing is required for certain components and must be done independently. This is another criterion you need to consider beforehand.
With these checkpoints in place, the next step is implementation. Here’s how to get started.
Original drawing
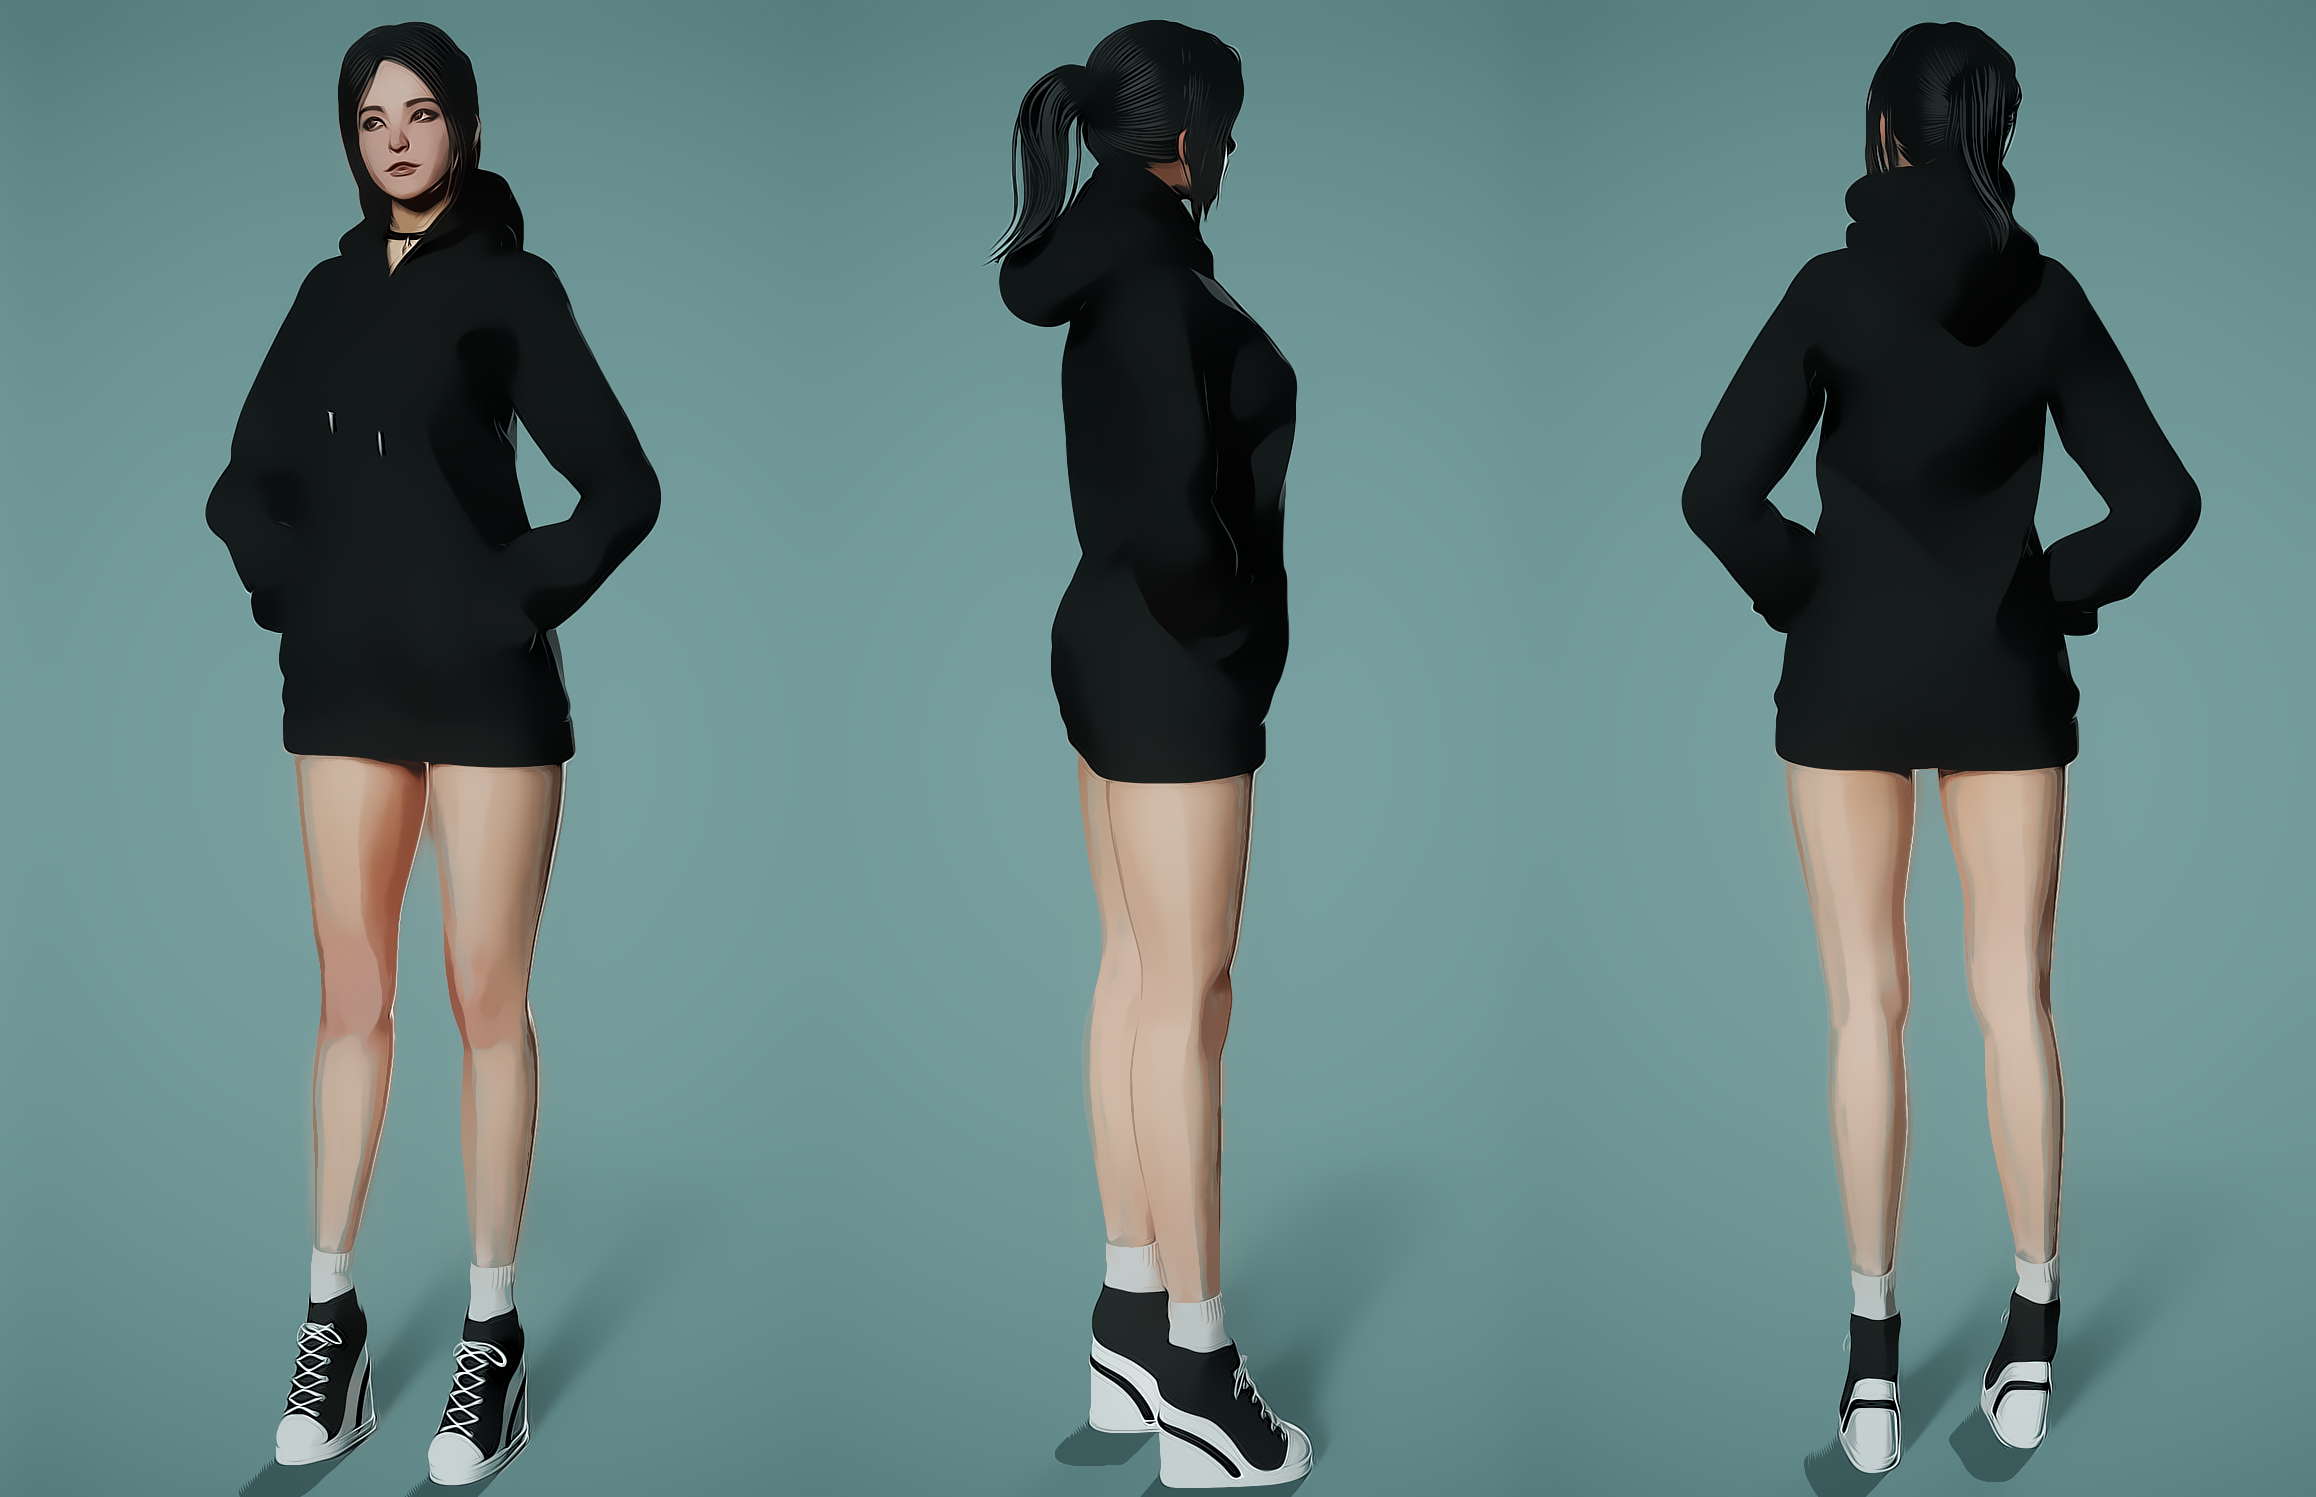
To ensure your character creation process runs smoothly, it’s important that the first step, namely the original drawing, is done carefully. Failure to do this properly beforehand may affect the structure or effects in the subsequent steps. Keep the following in mind when drawing to facilitate what you need to do next.
- Model: You need to make the drawing suitable for modeling. For example, will the structure of what you draw be difficult to implement during modeling? Will it be challenging to distribute the edges for certain structures when making low-polygon topology?
- Animation: Likewise, you need to make the drawing suitable for animation. For example, will rigging be difficult for certain parts of the animation? Which structure does not conform to the human skeleton?
- Shader: Next, you need to take into account shader implementation. Ask yourself: Will the shader of the material effect I draw be difficult to implement? How about the performance? How about the classification of materials? Does it come with special effects? Can it be implemented using one pass or multiple passes?
- Physics: Which structure requires simulated computation? How is the motion executed?
By keeping all these in mind when drawing, you can streamline your work in the subsequent steps.
| Tip: When drawing a human body, you can use a 3D modeling software to assist you with the process. Not only will this improve your efficiency, but also ensure structural and perspectival relationships are correct. |

Modeling
For modeling, the same rules apply – that is, take into consideration the steps that follow. Modeling must be done properly, and factors such as UV mapping, edge distribution, and material classifications must also be planned in advance. Modeling is the most critical part of the process since it needs to go through the animation process before it gets to rendering. If there is an issue in rendering, then the modeling and animation processes must be reworked.
- Mapping: You need to make the model suitable for mapping as well. Which structures can share the UV? Can you maximize the use of pixels of the map? Which components require Alpha?
- Animation: You need to consider how facial expressions are created in blend shape and how the model should be divided for UV. Also, you need to identify the body structures that require animation and determine how the edges should be distributed to make the rigging of the model more natural.
- Shader: Now it’s time to think about how the UV should be arranged so that it can deliver special effects for the implementation of shaders, as well as identifying which materials need to be separated when classifying modeling materials.
- Physics: Similarly, you need to distribute the edges properly to make the simulated effects appear more natural.
When creating a model, the best way to avoid reworking is to take into account the subsequent steps and make plans in advance.
| Tip: When drawing high-polygon models in ZBrush or other software, it isn’t necessary to include minor detailed textures. Due to the resolution limit, the effect of the details will be very poor after being made into a map through direct baking. These details should be separated using Mask ID in the shader and added through Detail Map. Remember not to include them in the main map! |

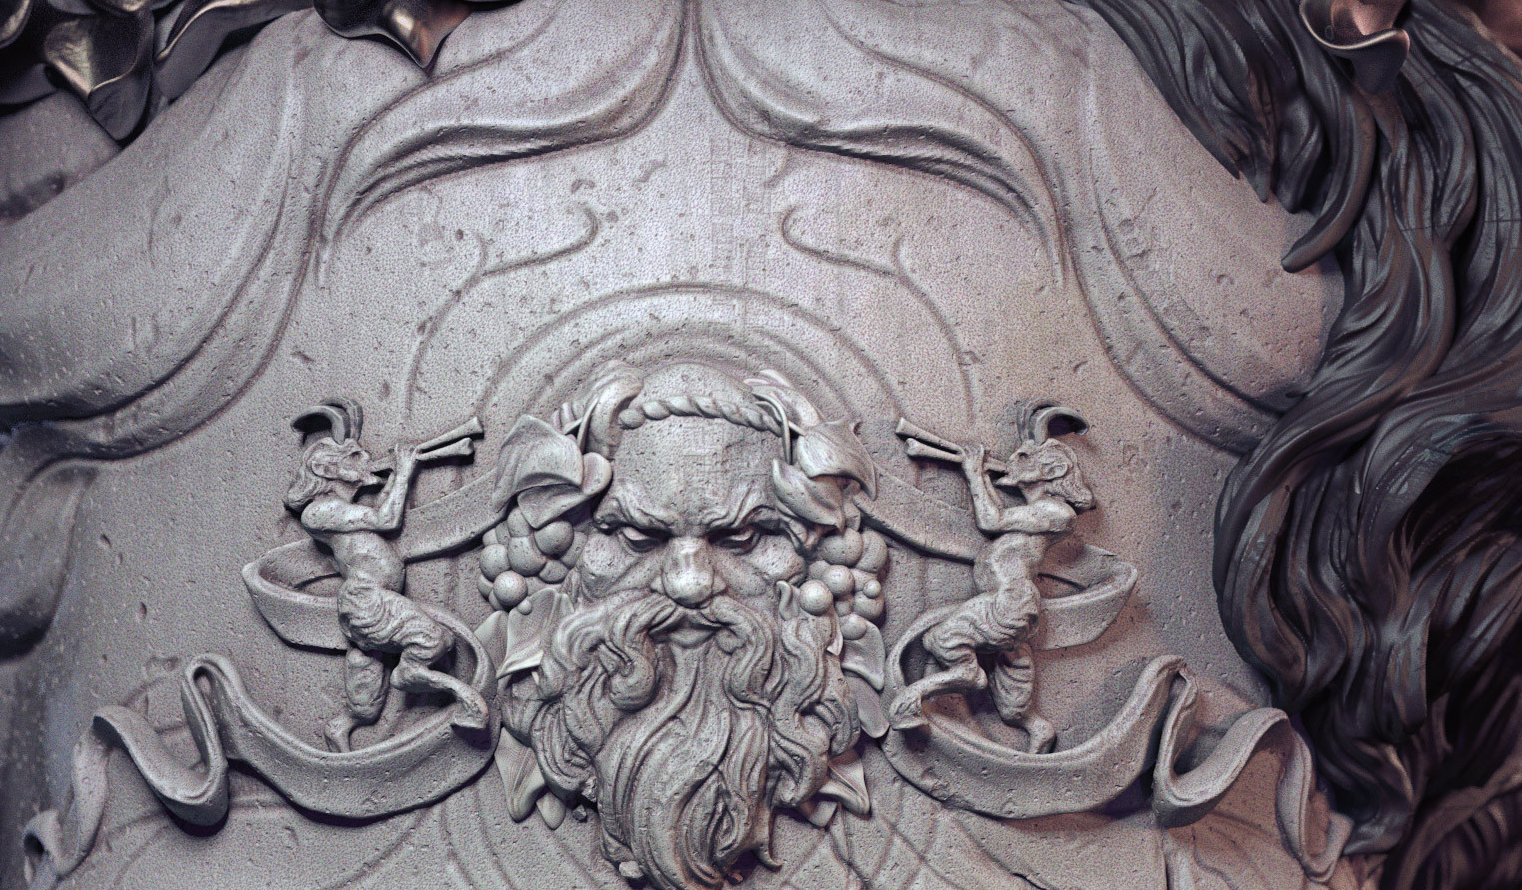
Adding details in the shader directly is the way to go.
Animation
During model rigging, it’s good practice to export files one by one in .obj format and then import them into the animation software to preserve your model’s authenticity. Then, check the normal orientations of the model, the layers of the file, and the allocation of the shader to see if there are any issues. If everything is good, you can proceed with model rigging.
Bone positions play a key role in model rigging since they will decide whether the movement at the joints is natural. Let me say this again: it is extremely important! You will find yourself in trouble if the skin weight was fine, but the bone positions were wrong.
| Tip: Let’s use the hip bone, which is located in the middle of the rear, as an example. If you want the movement to look natural, the positioning of the bone must be accurate. Otherwise, the animation will be deformed when using the motion capture device or when applying it to other animations. |

At this stage, you’re very close to the final step of your work. Still, you can’t afford to take things lightly. There are several issues you should consider during the creation process:
- Model: Check the model again to make sure the orientation of the normals are aligned properly, the soft and hard edges are fine, the classification of the model components and materials is done correctly, the components that require blend shape are combined, and the materials and naming are handled.
- Animation: Determine whether the current bone structure meets the humanoid requirement in the engine.
- Shader: Check again whether the structures that require the effect are split.
- Physics: Identify the parts of the simulation that use bones and the ones that use vertices.
Now, you have completed all the preliminary work before using the engine. Next, we need to import the entire set of the model map into Unity and merge all our preliminary work.
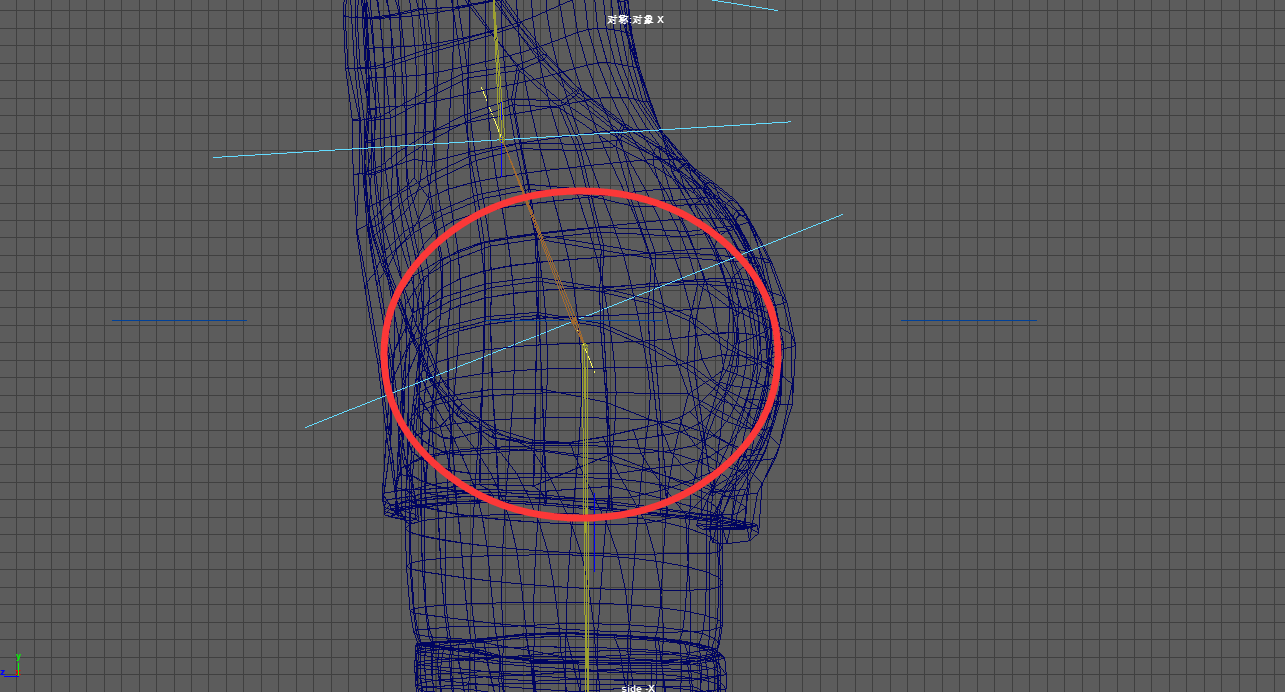
| Tip: When working on the skin weight, you can switch between the skinning software and the engine to test the effect. When the character is animated, it’s easier to identify problems. See the image below as an example. When the character is moving, you can see there’s a glitch when her scapula reaches a certain angle. This is due to the vertex weight not being smooth enough. |
Rendering
Thanks to the checkpoints you set previously, the implementation process should be a walk in the park.
For the shader, all you need to do is set or create the material for the separated components independently, as you will have already classified the materials during the model-making process. For animation adaptation, you can use the humanoid of Unity directly since you will have set the human skeleton standard beforehand. This way, you can save a lot of time on the animation work.
In addition, you can also apply motion capture to further reduce our workload. If the blend shape you have made fulfills ARKit naming conventions, you can directly perform a facial motion capture to produce the animation of the facial blend shape.
| Tip: If you use Advanced Skeleton to do your rigging, the alignment of the character's scapula and shoulder nodes will most likely be incorrect when imported into Unity. To solve this, adjust it manually on the humanoid interface. |

Well, that’s it! In summary, throughout the character creation process, from original drawing to modeling, animation to rendering, I recommend a results-oriented approach and determining the steps that you should take to achieve the result you want. Furthermore, you should also have a thorough understanding of the entire production process so that you always know what to do next and what to take note of in the current step.
Please share my post if you found it helpful!
/ / /
(^_^) Sakura Rabbit 樱花兔
Sakura Rabbit’s character art was featured on the cover of our e-book, The definitive guide to creating advanced visual effects in Unity, which you can access for free here. See more from Sakura Rabbit on Twitter, Instagram, YouTube, and her FanBox page, where this article was originally published. Check out more blogs from Made with Unity developers here, and if you want to share your Unity expertise with the community, submit to the Unite 2023 call for proposals by July 11.
Is this article helpful for you?
Thank you for your feedback!
- Unity Labs
- Copyright © 2024 Unity Technologies