Designing a deeper space: Visual effects in Alt Shift’s Crying Suns


In this guest post, Alt Shift Lead Programmer Christophe Sauveur explains how he lit up Crying Suns’s gritty deep-space world, and provides rendering tips and resources you can apply to your own project.

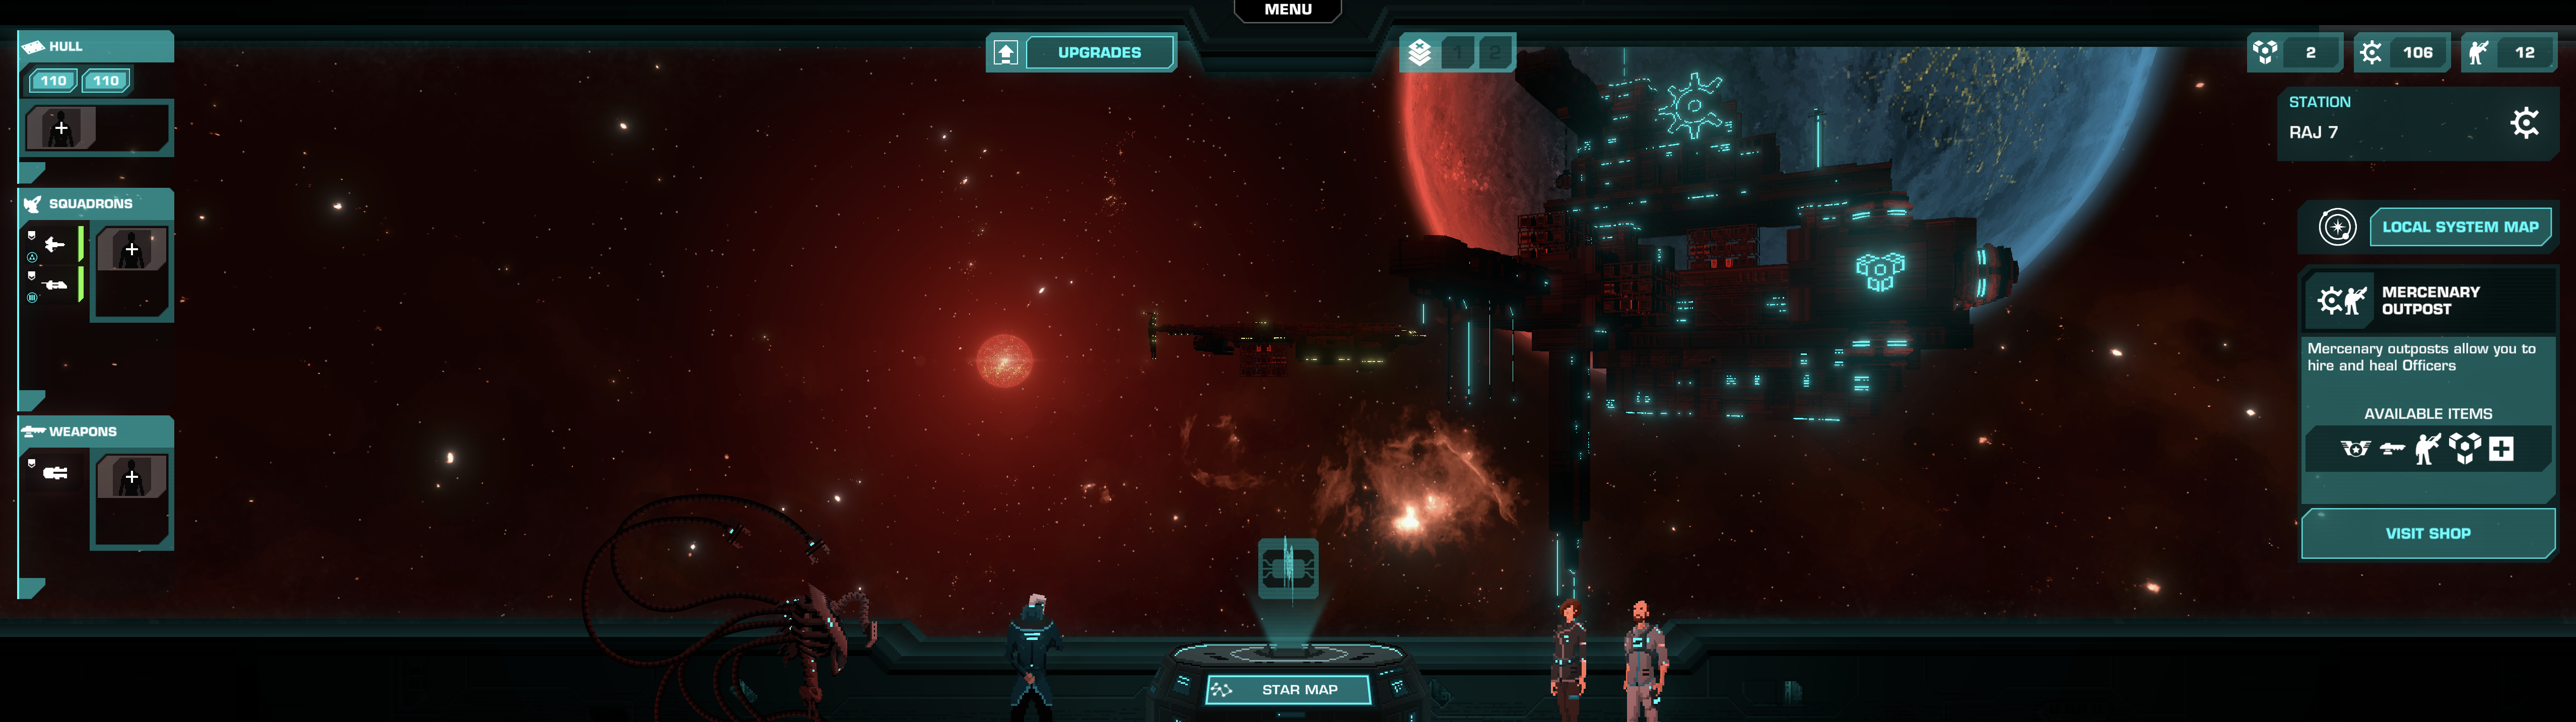
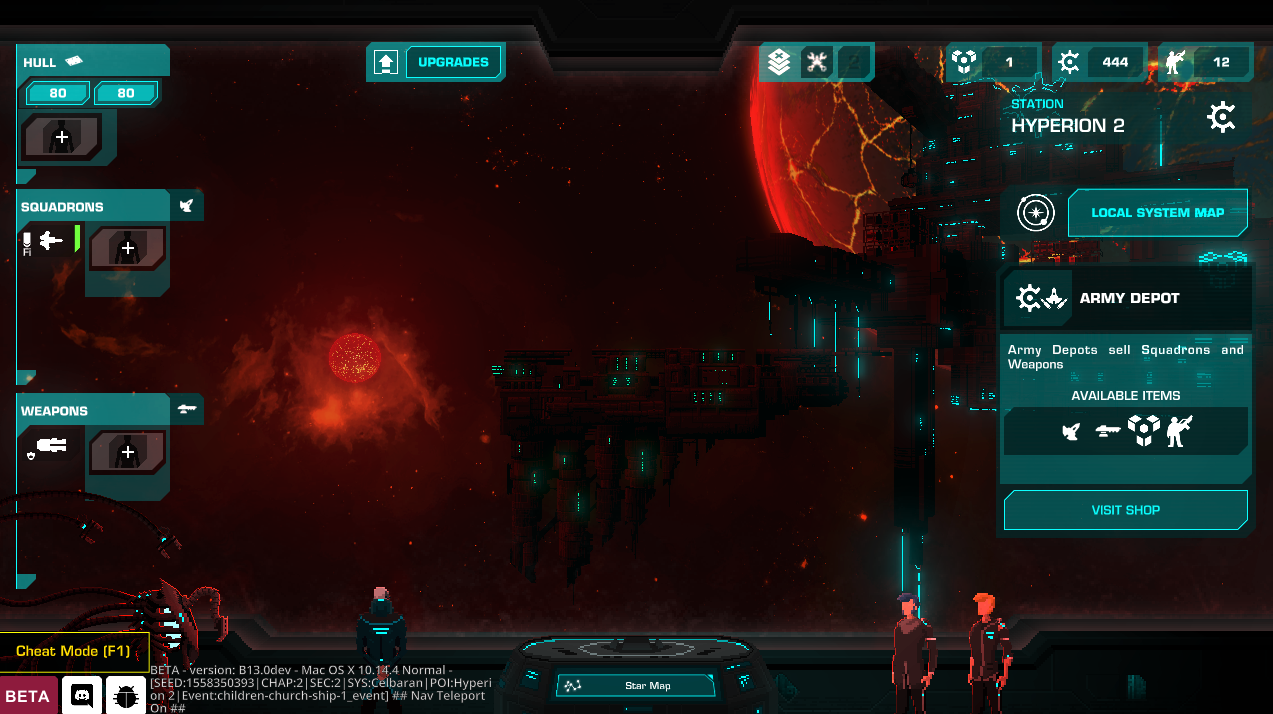
In Crying Suns, you spend most of your time in the command center, as shown above. But besides the actual characters, the mainstay of our game is outer space: deep, treacherous, outer space. If one thing in Crying Suns had to look sharp, this was it. That’s why we spent so much time tweaking the render of our various environments until we were fully satisfied with our multiplatform game.
Artistically based rendering
It probably won’t come as a surprise when I tell you that Crying Suns’s depiction of space is not physically accurate. Crying Suns has a very unique and distinctive art direction and, as a 2D game, some very specific constraints around readability – what the player is able to perceive on the screen.
Starfields are generally represented as white dots superimposed on a pitch black background. It is not by chance that most spacecraft – both in fiction and in reality – are white. First, you can see them on screen, which tends to produce better TV shows. Second, it helps with reflecting light and the heat that would otherwise be induced by black materials.
However, we wanted to create a grimmer and darker world with Crying Suns. White was not really an option. And even so, as our camera setup looks right towards the stars of the various orbital systems, every stellar object would be backlit, and then would appear mostly black. So we had to find a solution.
The layers of space
Even though our artistic vision was clear from the beginning, the process to achieve it was very long and went through several iterations. The render itself takes multiple passes with very distinct goals.
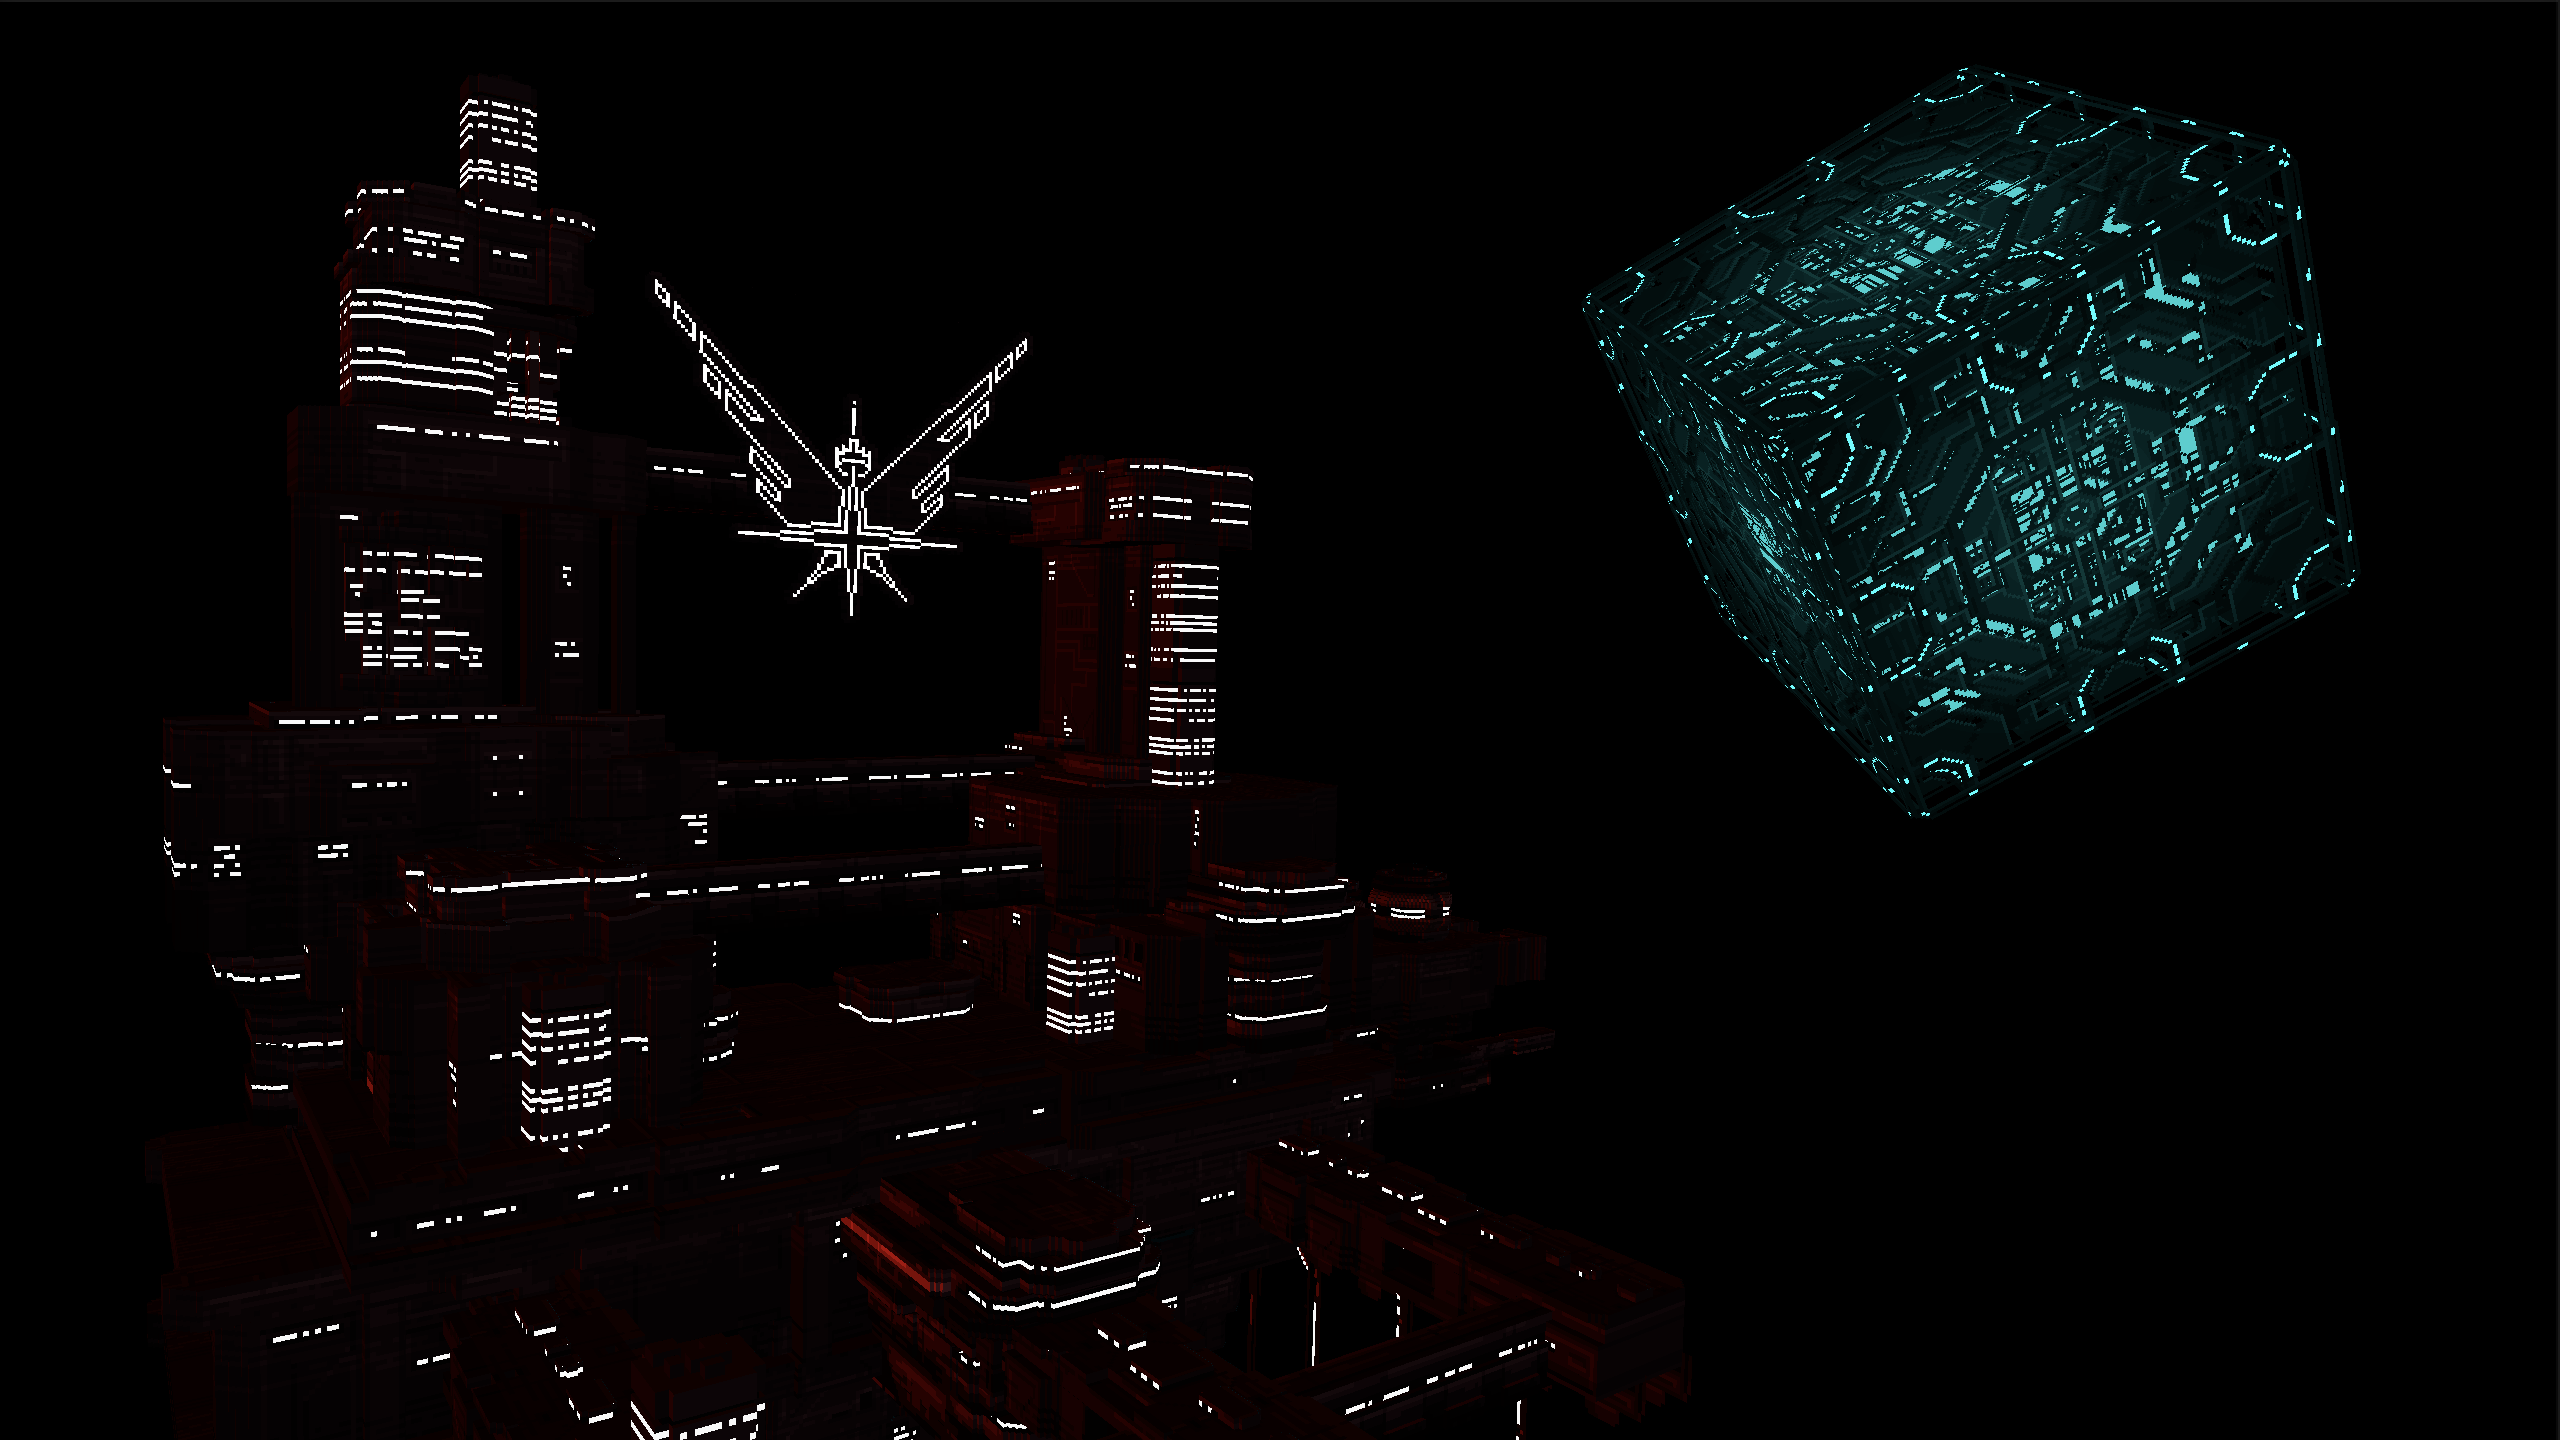
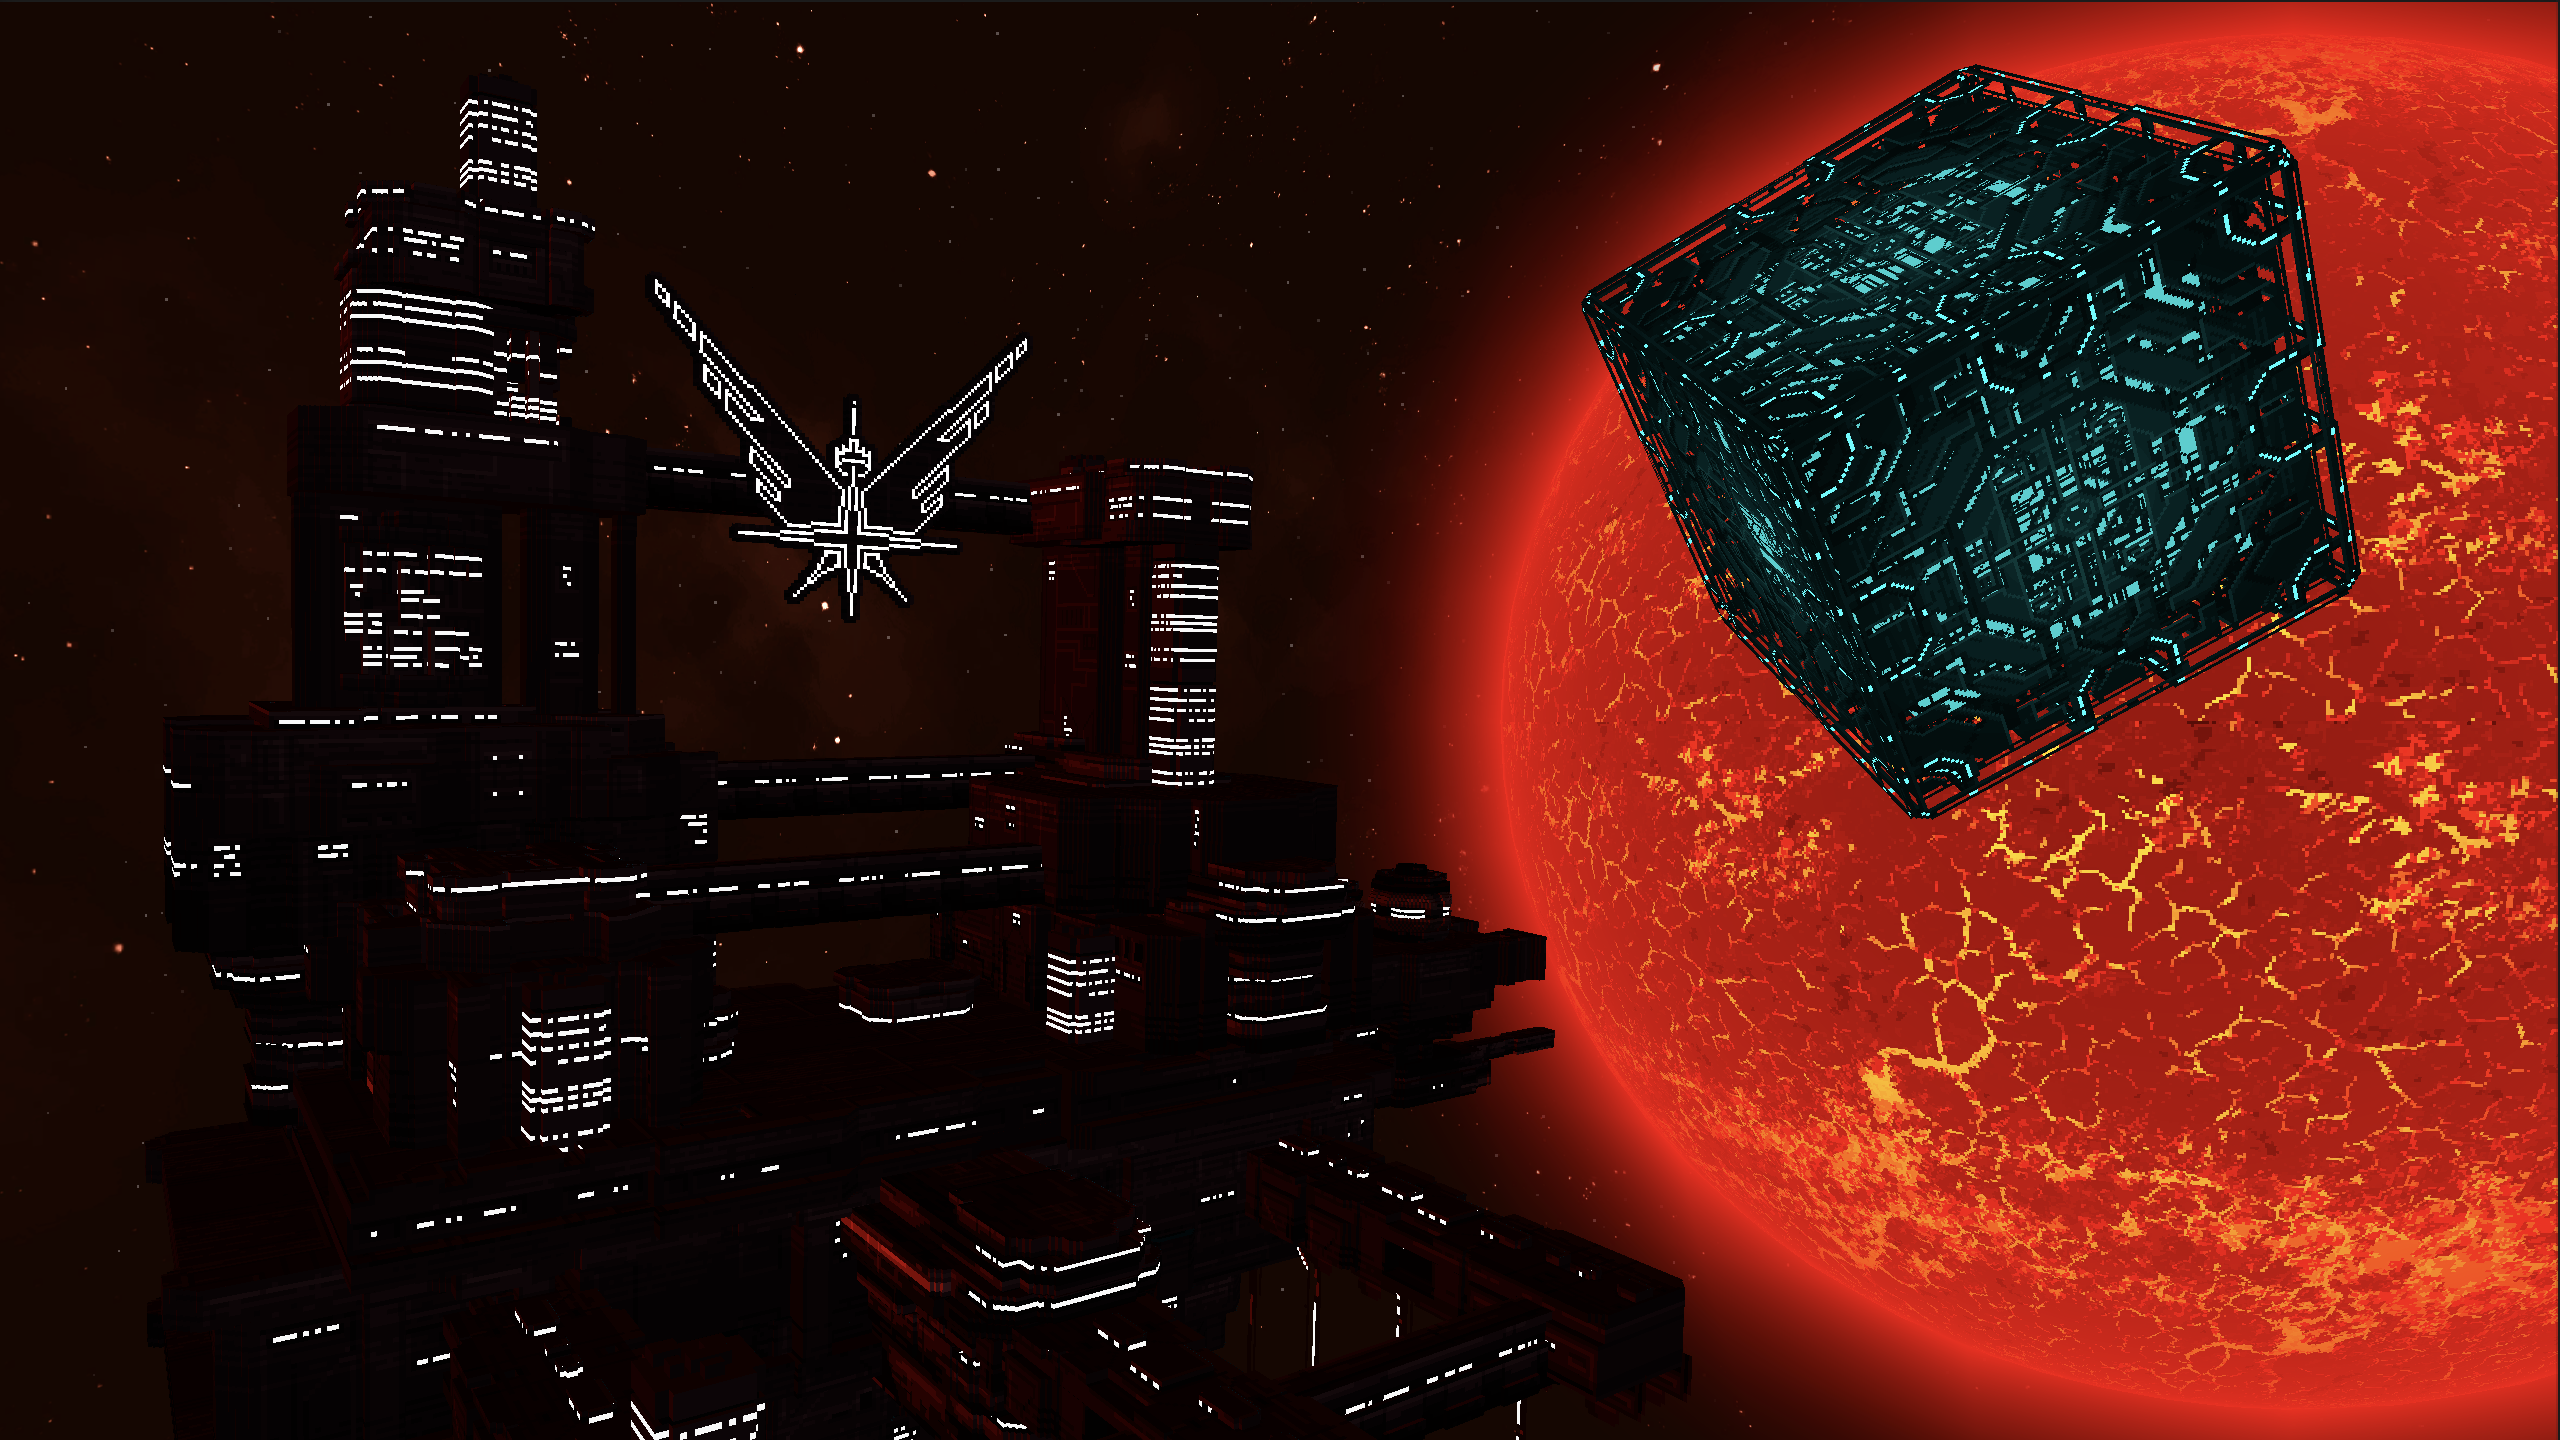
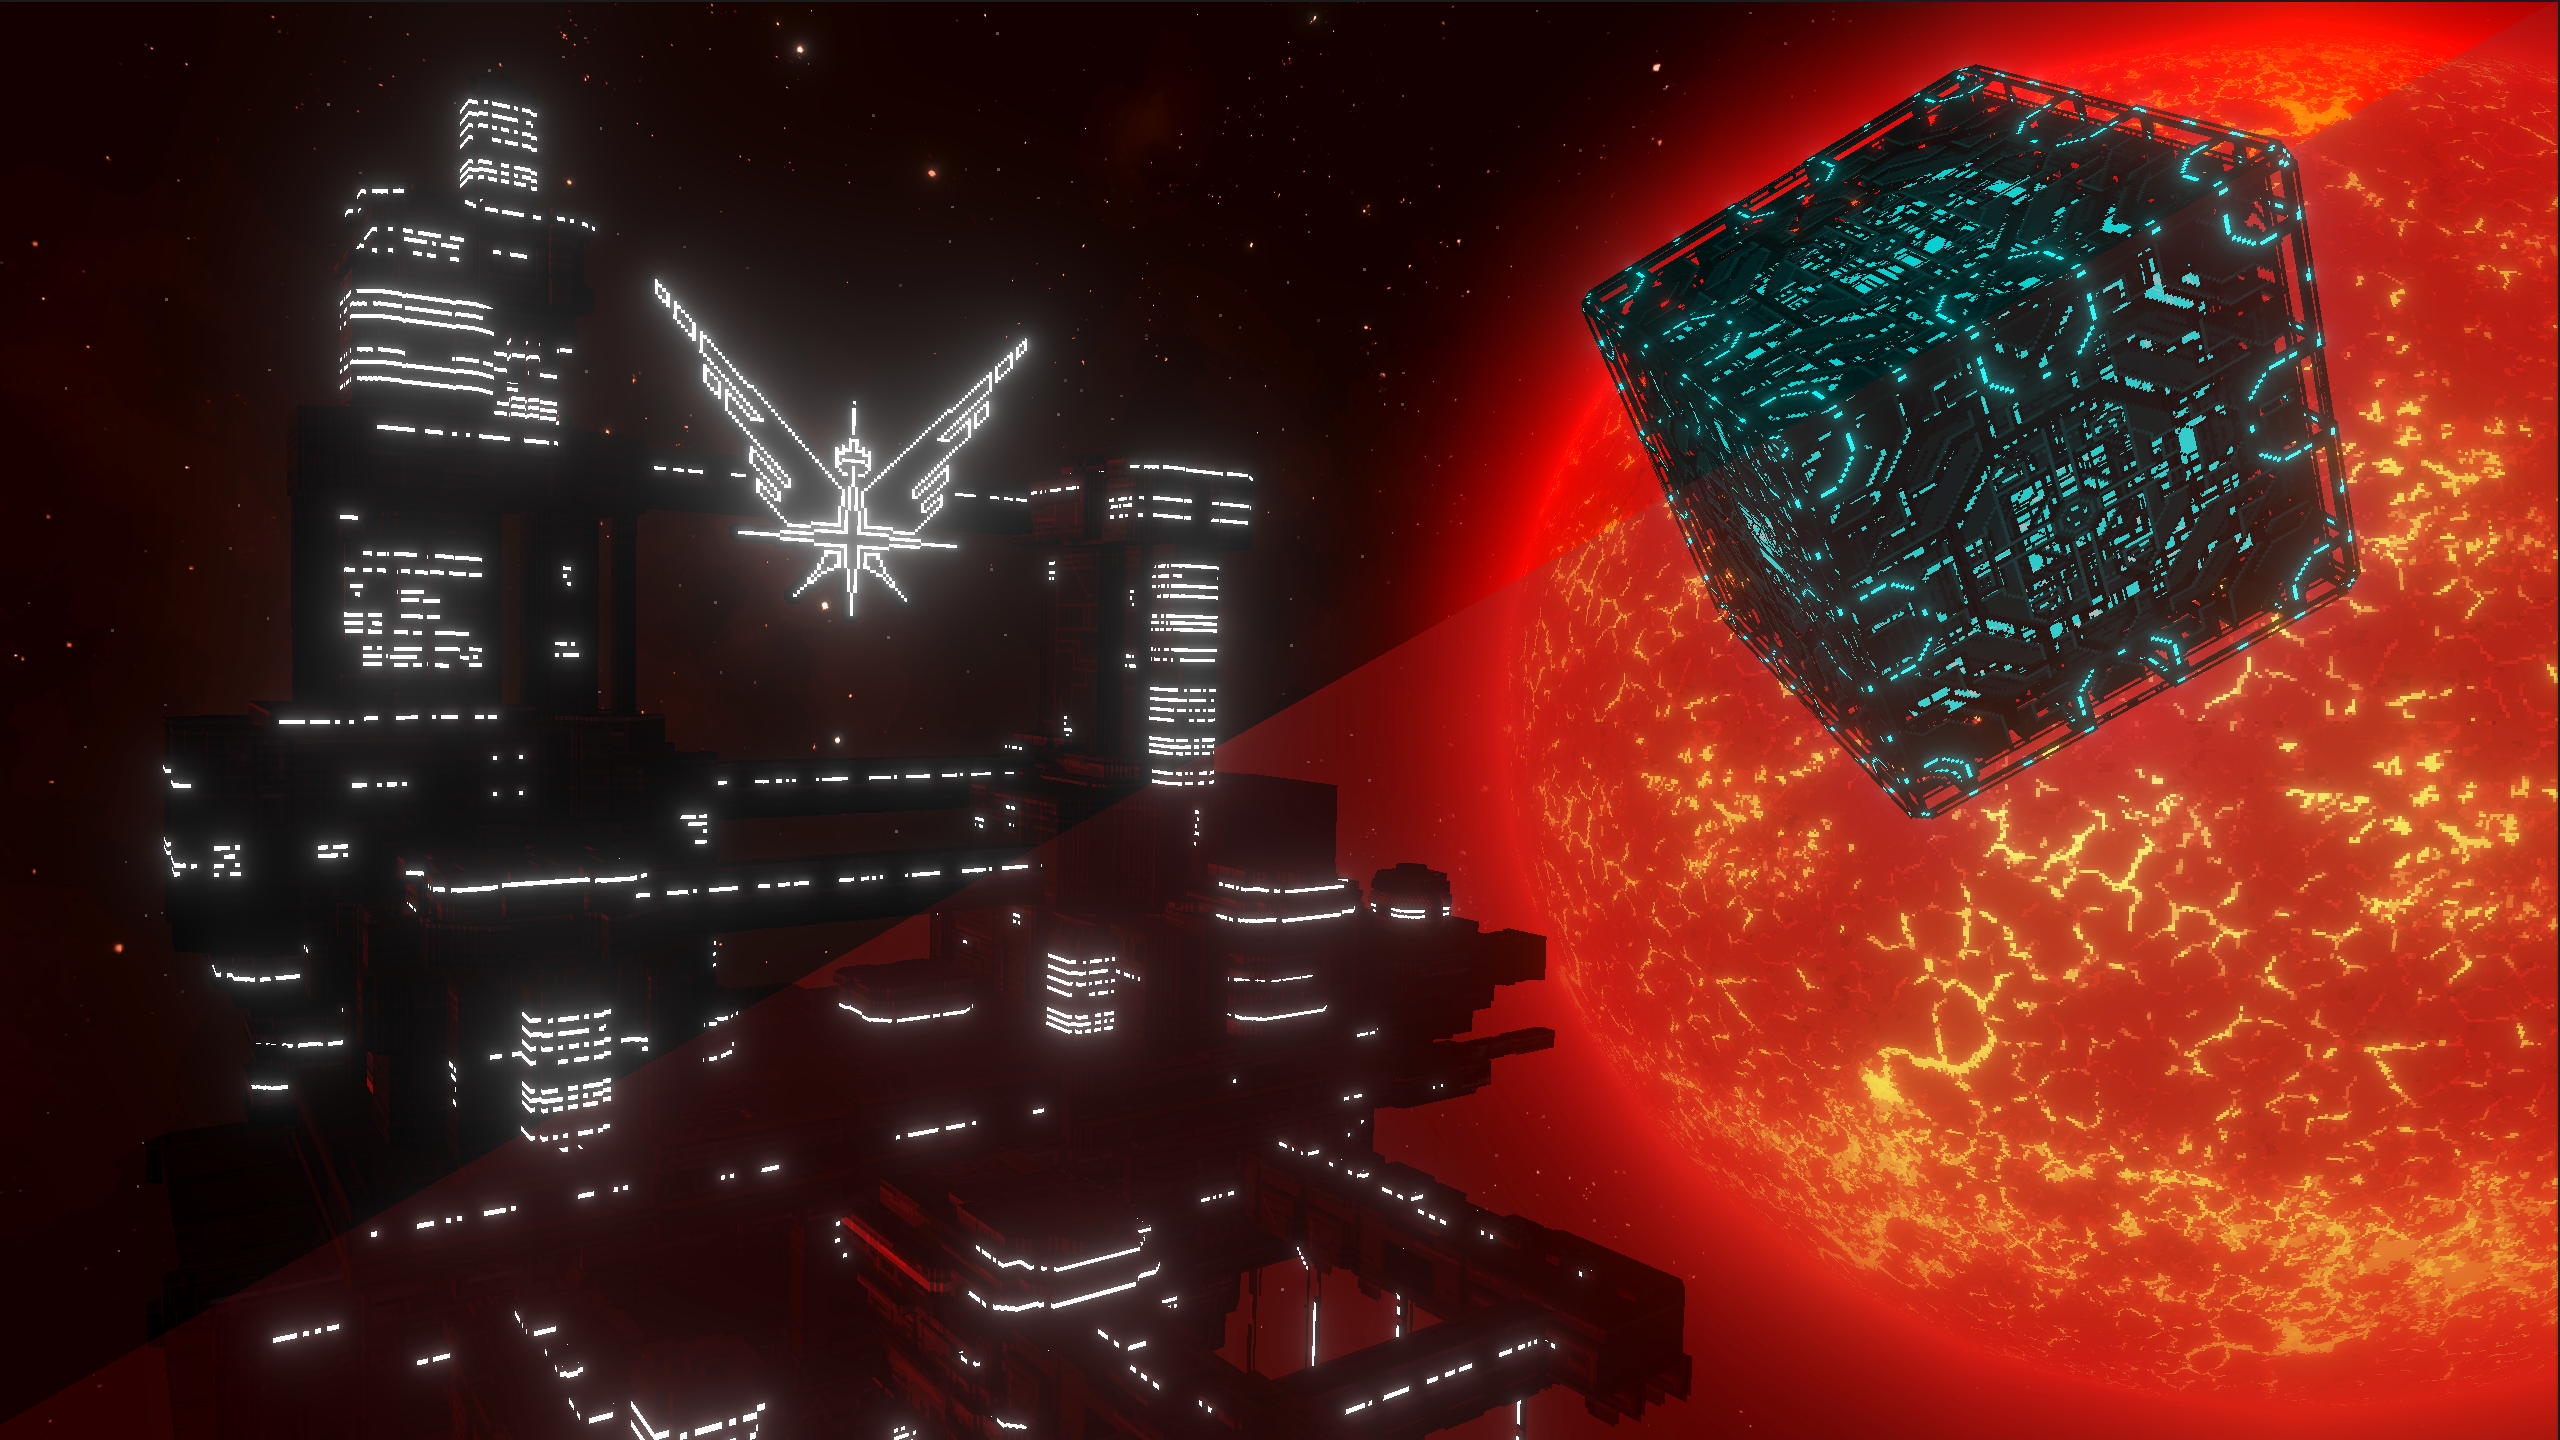
First, we basically render the opaque objects, seen here with this big station (left) and the Neo-N cube (right).

Second, we add the skybox in the background. We might have done it the other way around, but this is how Unity does this part.

After that, we introduce the transparent render queue, and especially stars and planets.
At this point, the “regular” part of the render is over. All that remains to be done are post-processing effects, like Bloom.

That’s generally the moment our producer and narrative designer, Julien Cotret, would say, “Bloom? Are you mad? Do you want me dead? You have to choose. It is Bloom or me!” But who needs a producer when you have Bloom in your game, right?
Anyway, we’re not quite there yet. The game looks great, but while you can perfectly perceive the shape of the Neo-N cube on the right, the station on the left is sort of lost in the darkness of space. The general ambience is missing something.
Fake it ‘til you make it
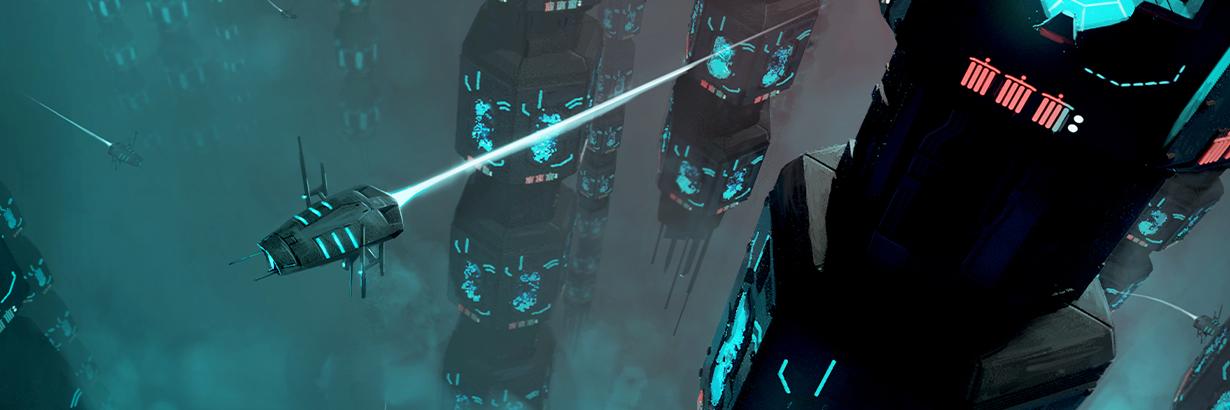
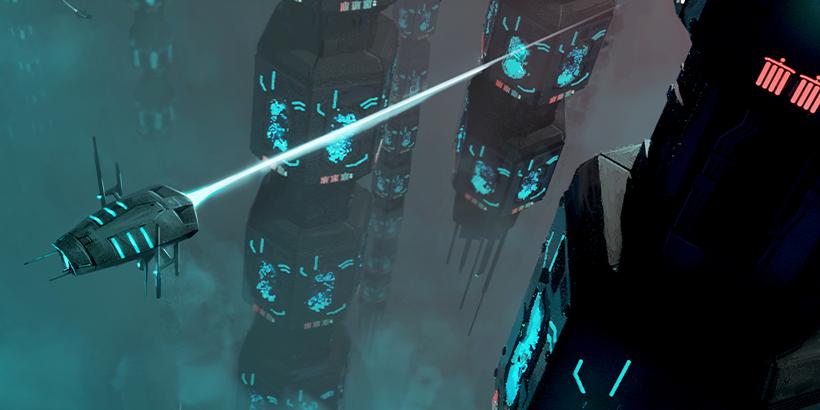
To improve this scene, we needed a way for the station to pop out – something that could emphasize the fact that the station is closer to us than the stars behind it. Something that would be physically inaccurate but that still looks like space. Enter what we call “space haze.”
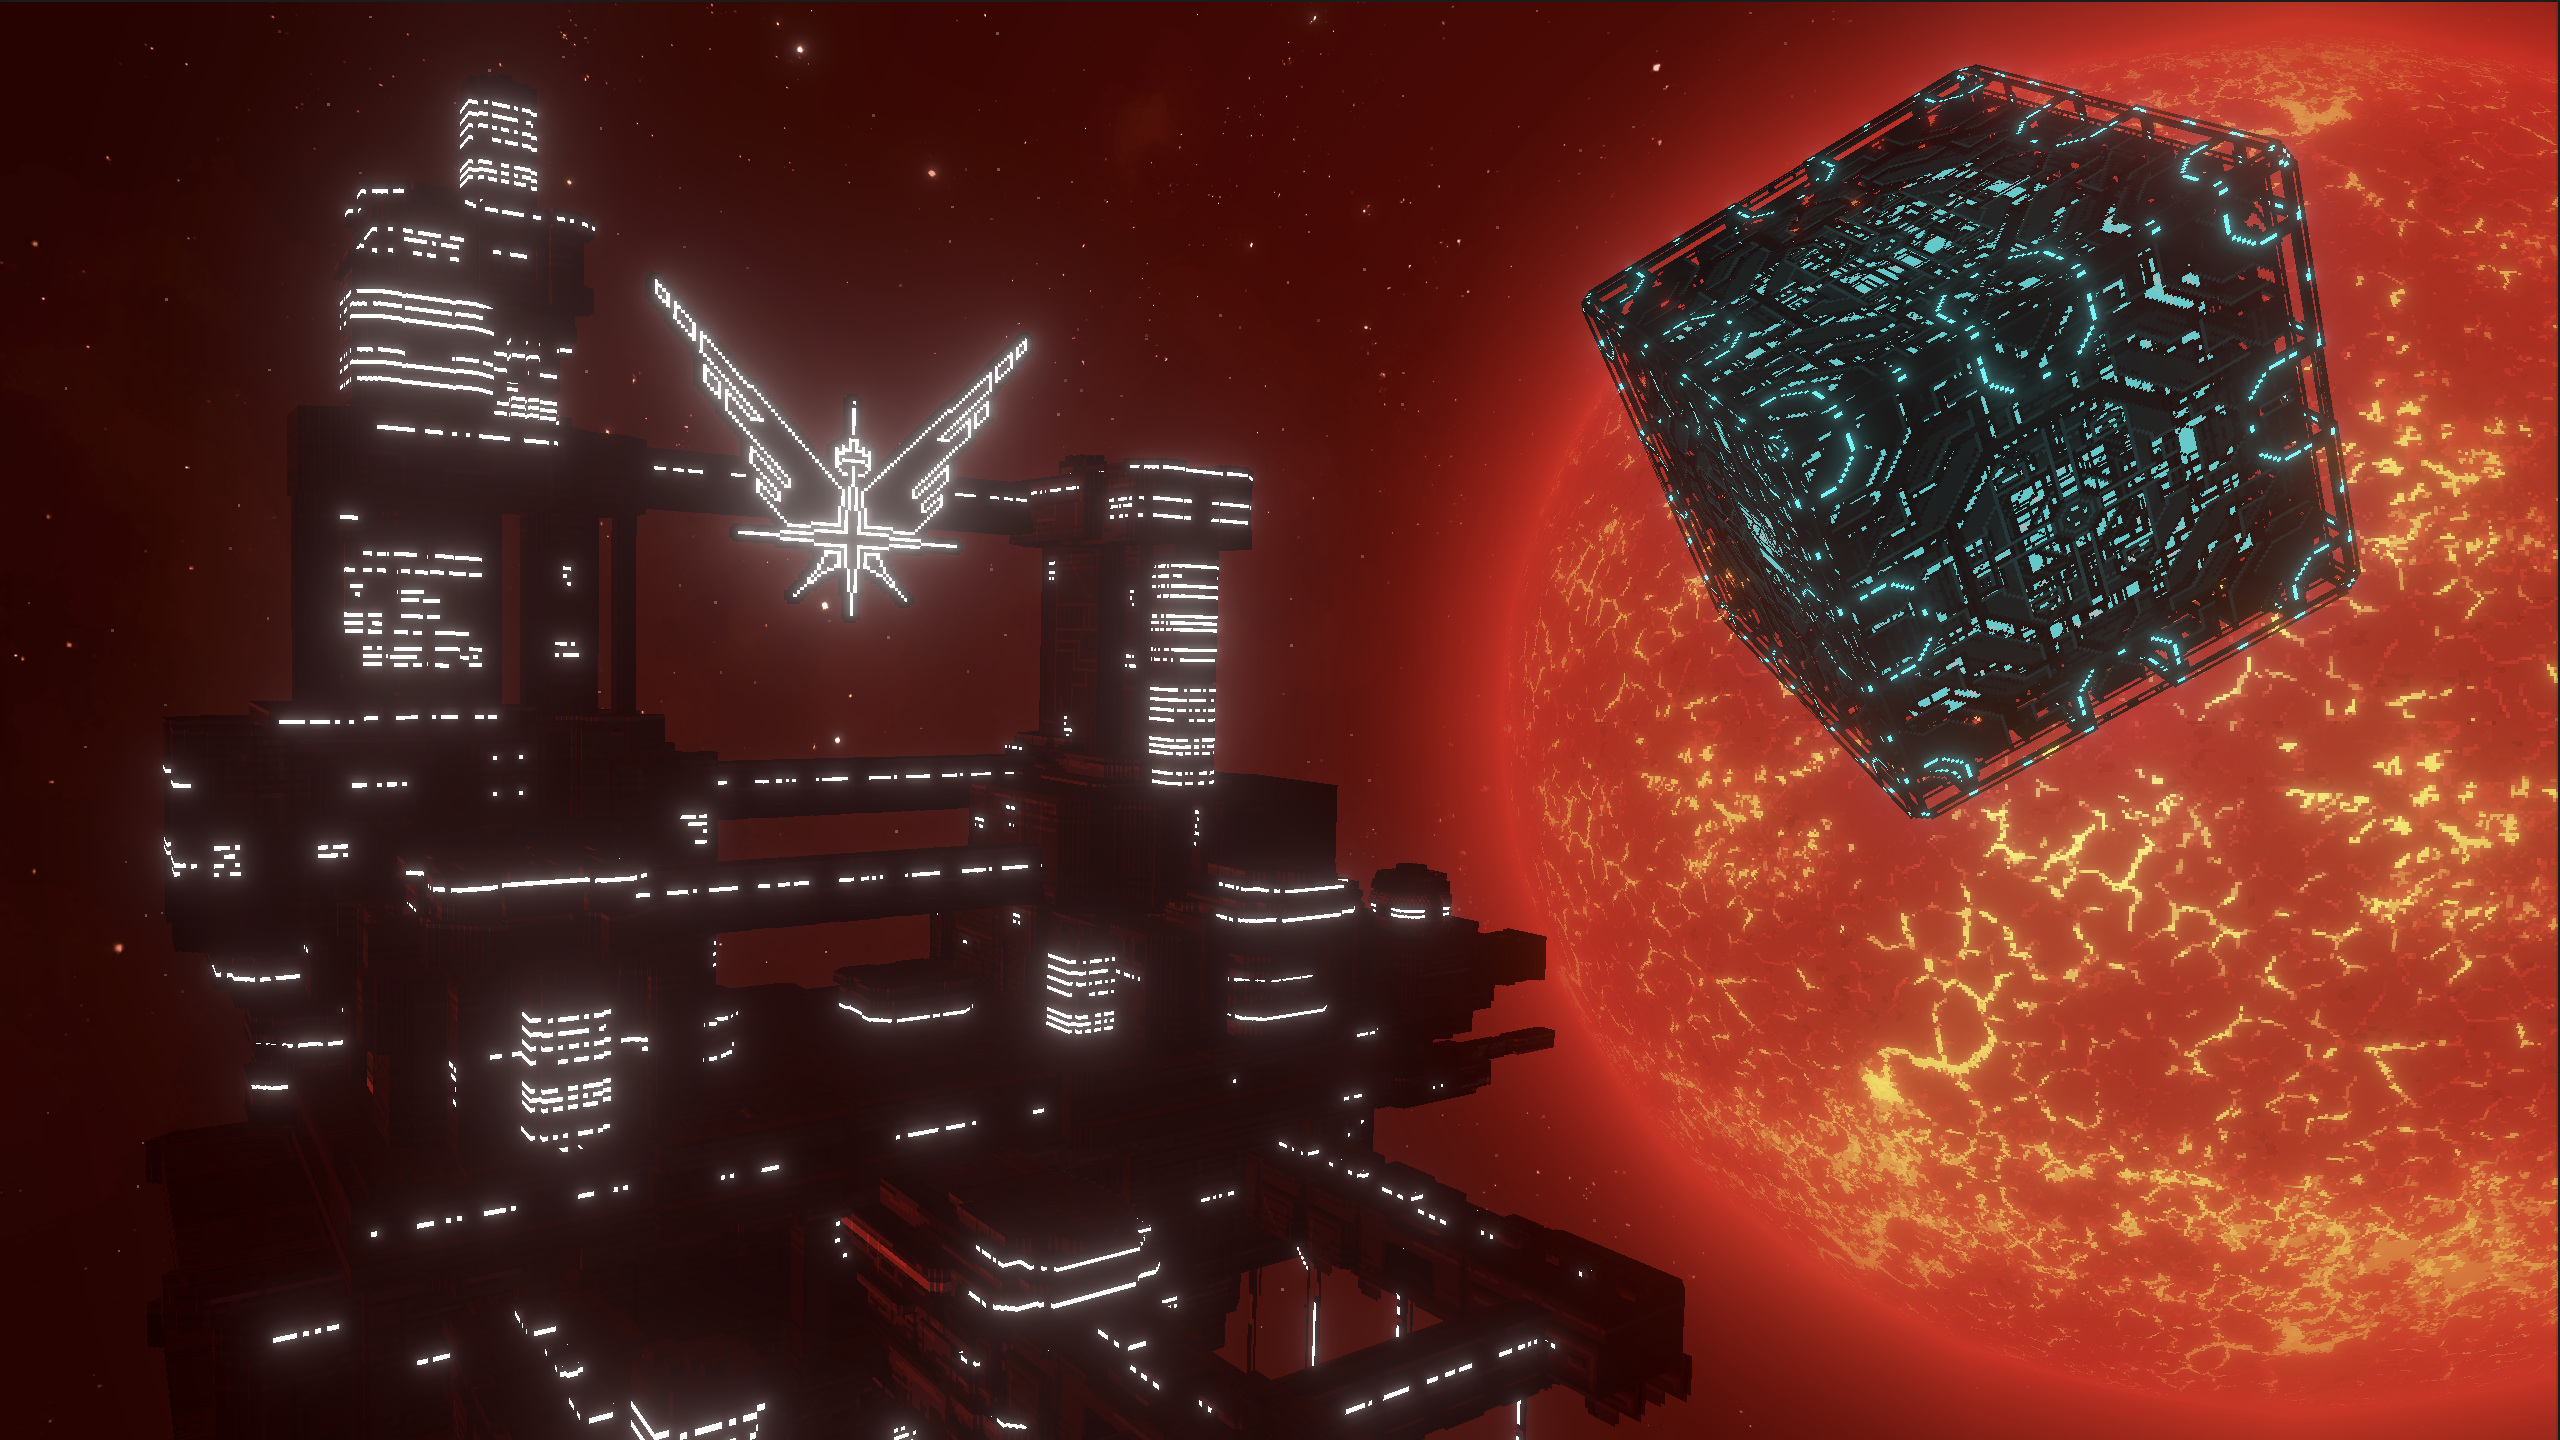
We basically designed a type of radiance that would create a hazelike effect due to light scattering when colliding with microparticles. To my knowledge, space haze is not a real thing, but it looks cool in our game, and helps a lot with image composition. It also adds a lot of depth to the station.
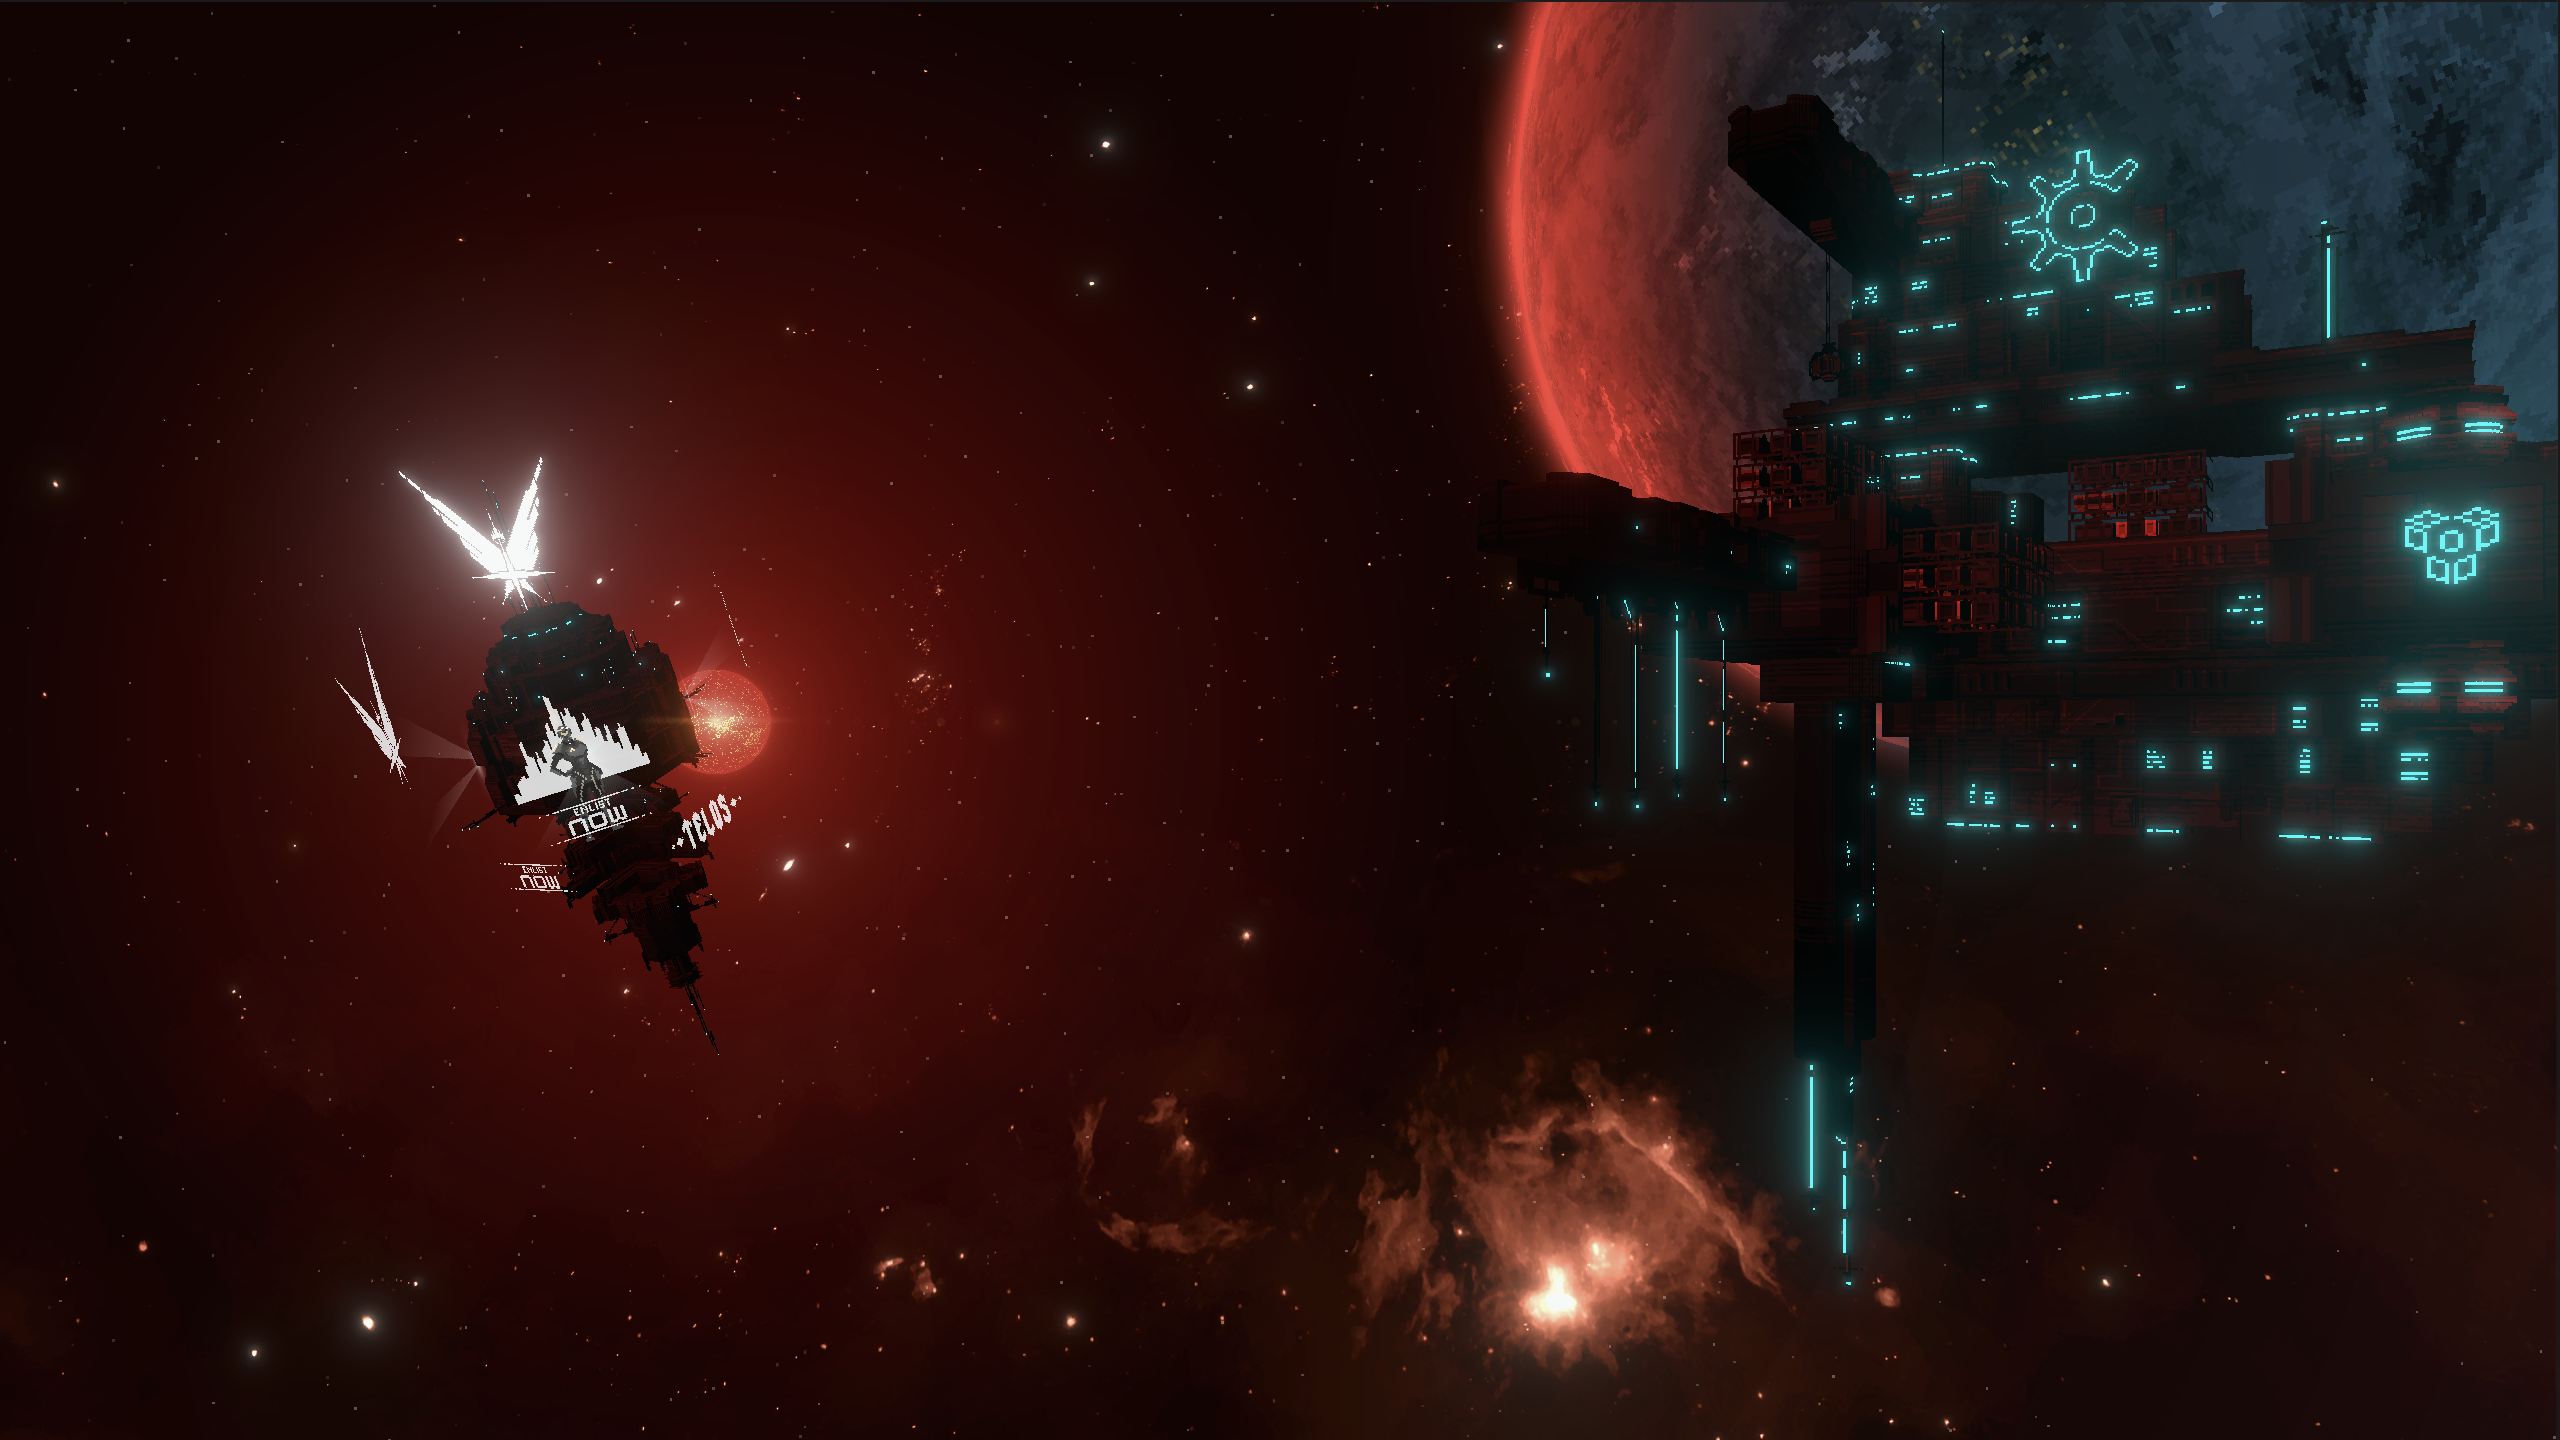
Here’s the same effect from a more distant point of view.
Creating the fog of (space) war
So, how did we make the space haze? As the title suggests, the effect works like a screen-space fog, with a twist: The further you go on screen from the relative center of the star, the less fog you get.
This solution came late in development. At first, we were using big billboarded sprites attached to the main stars in order to simulate radiance, but it was not as effective and had no effect on the stellar objects themselves.

In the picture above, you can see the radiance around the star that tints the skybox behind it, but the ship and the station do not really benefit from it. They’re redder on the faces facing the star, but the other unlit surfaces remain mostly black.
On the other hand, in the illustration below, you can see the impact of the space haze effect both on the background and on the objects themselves.
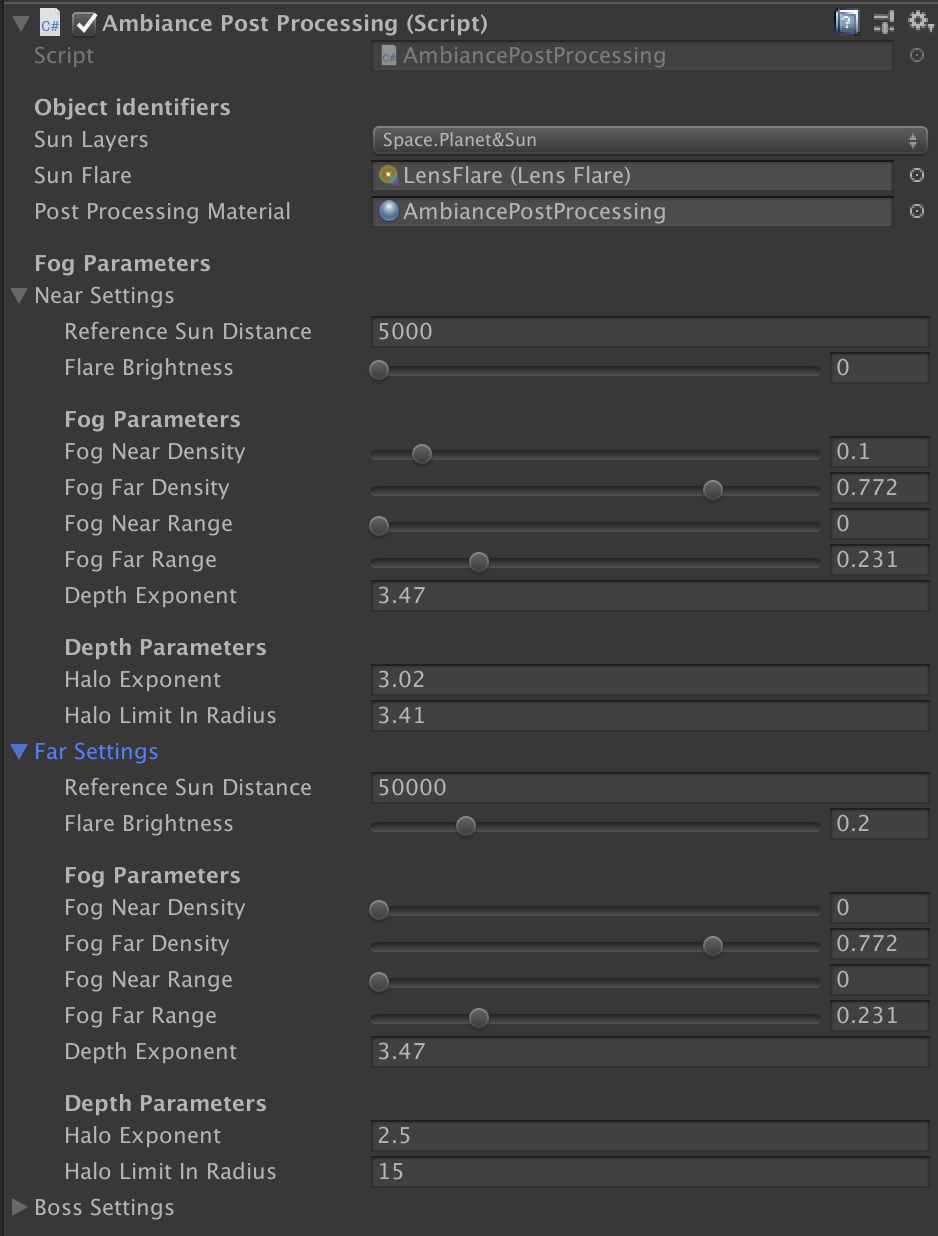
Of course, due to the various types of locations we have in the game (near the sun, far from the star, in fights, during boss encounters, and so on), we had to deal with different settings for each one and interpolate seamlessly between them as the player travels from one location to another.

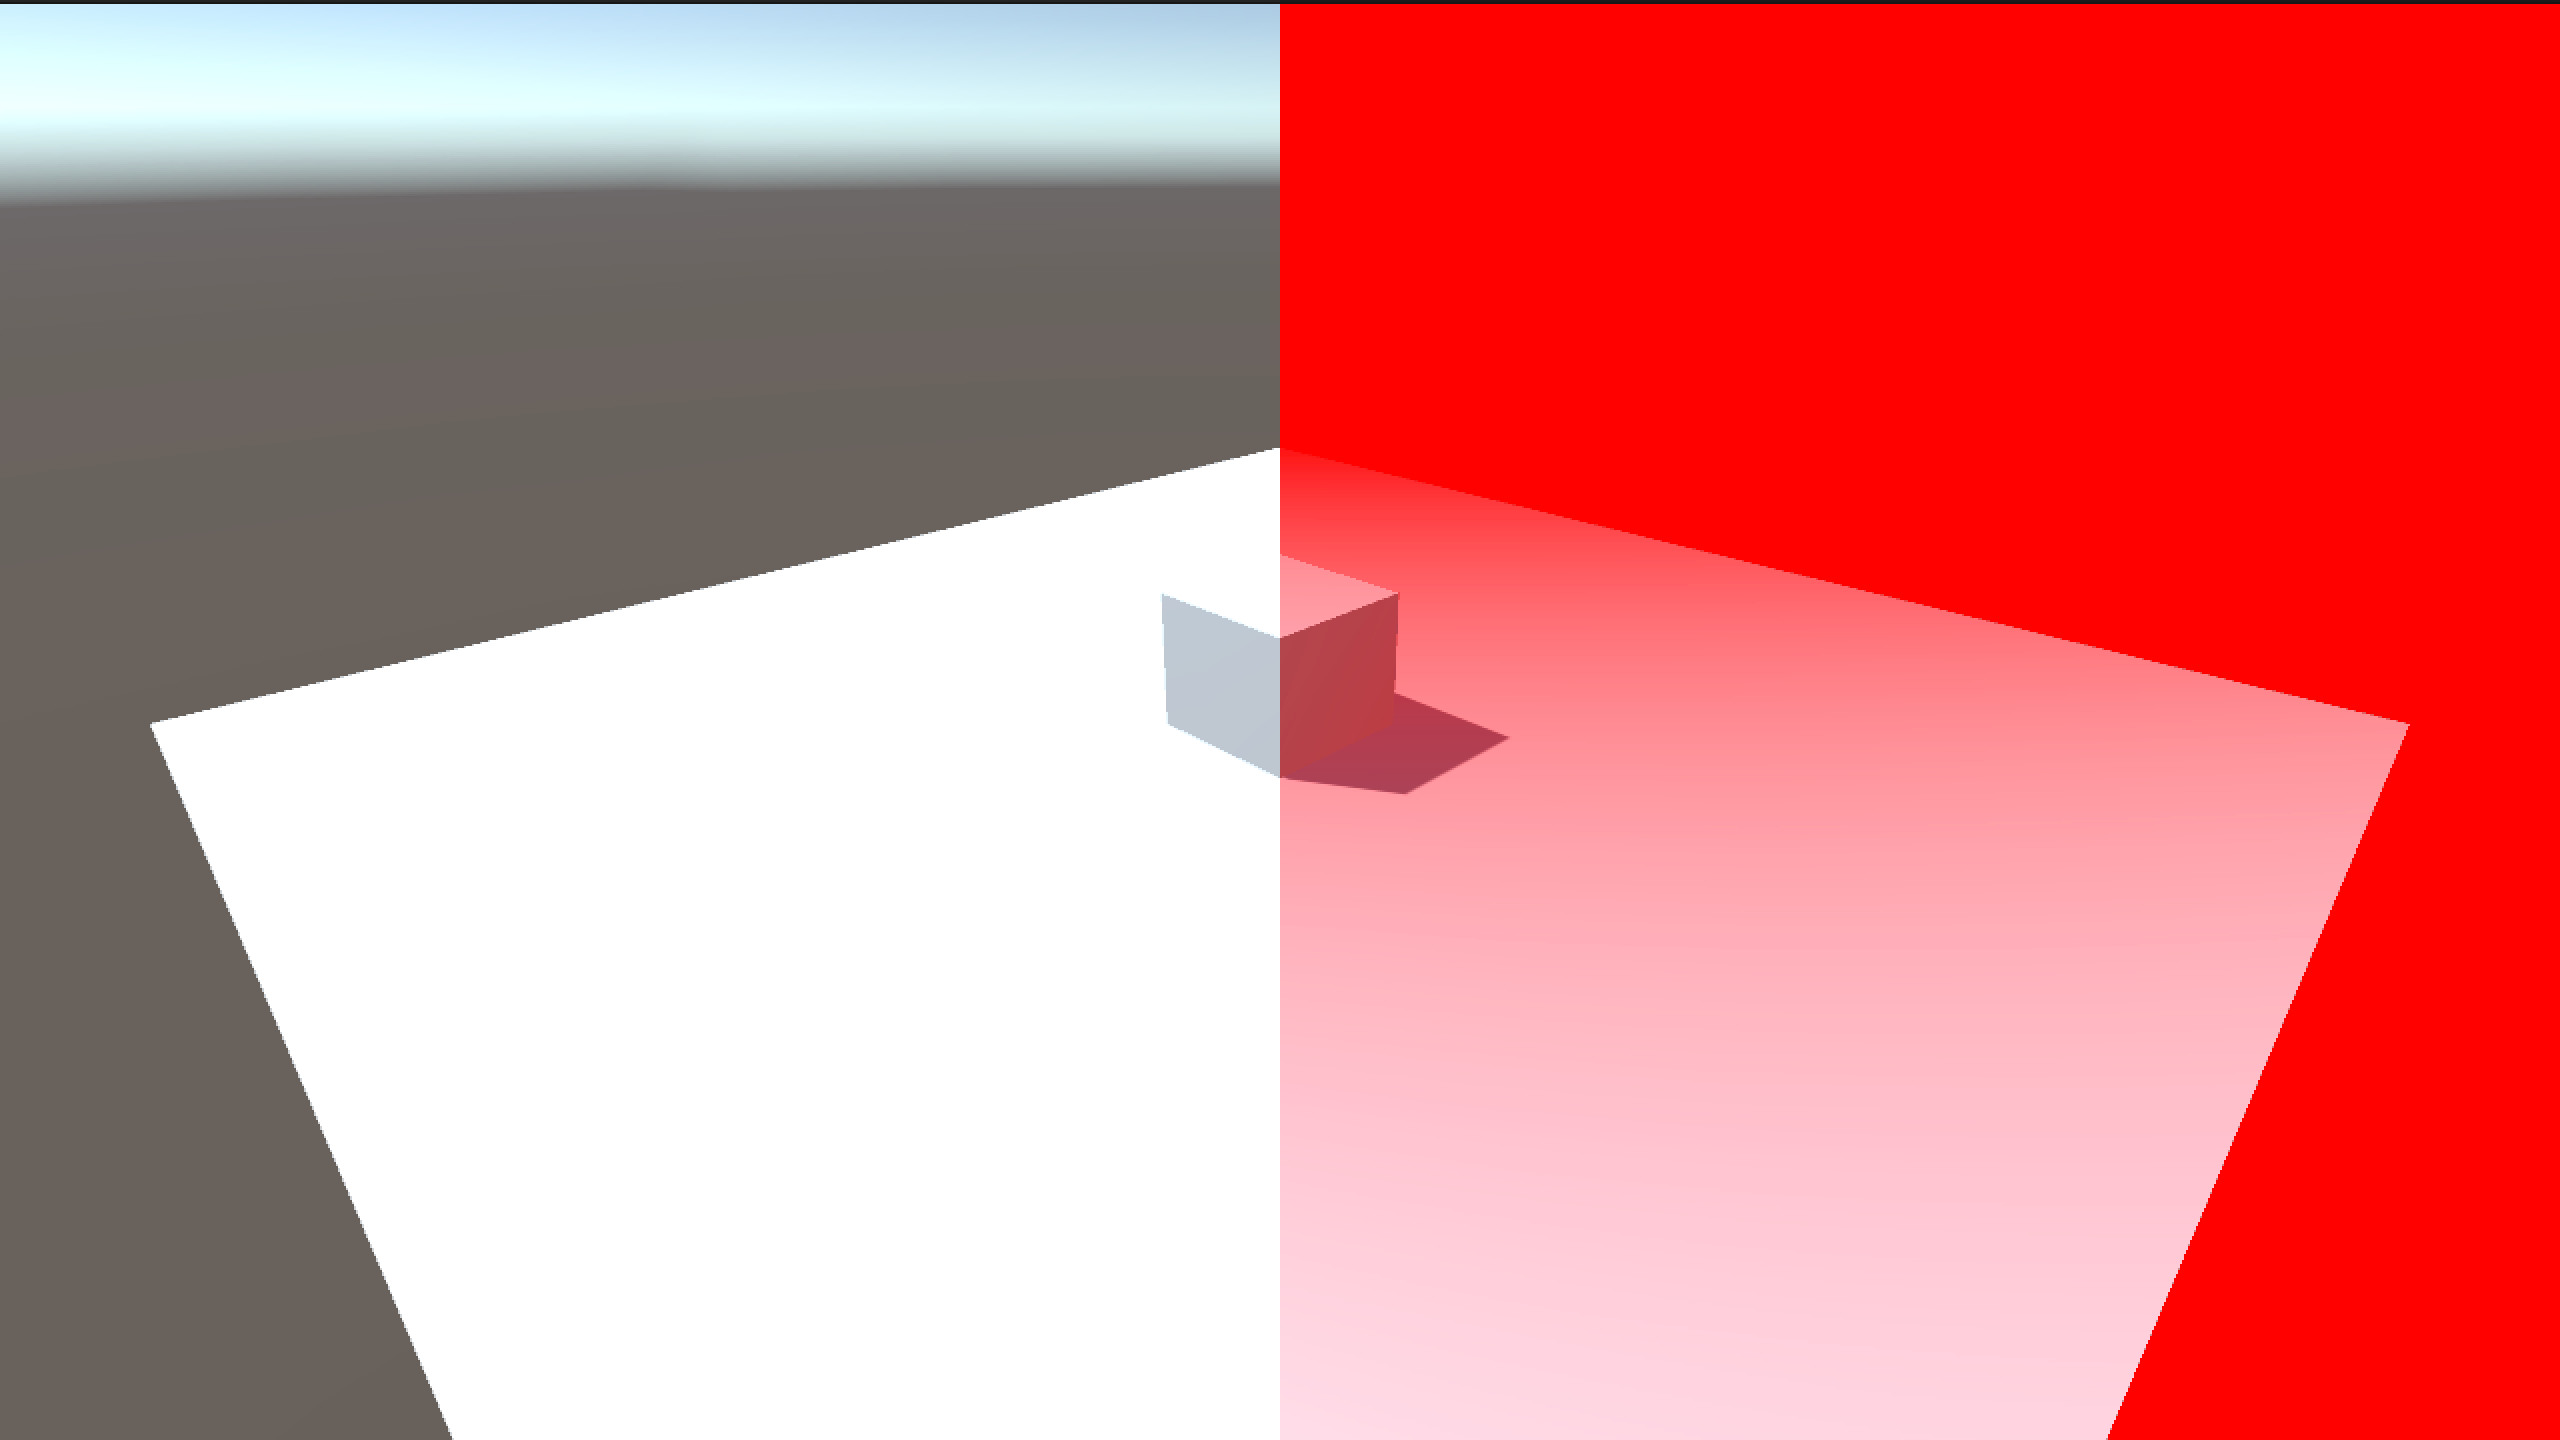
Practical steps to recreate these effects
To recreate similar effects in your own projects, you’ll mostly need two things: a depth texture and a post-processing pass. I will detail the process for both the Universal Render Pipeline (URP) and the Built-in Render Pipeline.
Built-in Render Pipeline
- Create a MonoBehaviour harboring an OnRenderImage method using your custom shader for the effect, and attach this script to your camera.
- Change your camera depthTextureMode to DepthTextureMode.Depth in the Start method of your script.
- Adapt your camera’s near and far clipping planes, since the depth texture will be computed based on those values.
- Write the shader.
URP
- Select your URP Asset, and check Depth Texture in the Rendering settings.
- Create a C# script containing a renderer feature and a render pass, and attach it as a new Renderer Feature to your Universal Renderer Data file.
- Adapt your camera’s near and far clipping planes, since the depth texture will be computed based on those values.
- Write the corresponding shader.
- Create a material based on this shader and assign it to the renderer feature.
- Select the fog color in the renderer feature.
Voilà!
Alt Shift’s Crying Suns is available now on Android, iOS, Nintendo Switch™, PC, and MacOS. Read the Crying Suns case study to learn how Alt Shift used Unity to create a premium game on mobile, desktop, and console platforms, and reached more than one million players.
Nintendo Switch is a registered trademark of Nintendo.
Is this article helpful for you?
Thank you for your feedback!
- Unity Labs
- Copyright © 2024 Unity Technologies