Expert tips on optimizing your game graphics for consoles


If you’re a regular reader of the Unity blog then you probably noticed the recent series of posts that shared many great tips for optimizing mobile games, including graphics and assets, profiling, memory, and code architecture, and physics, UI, and audio.
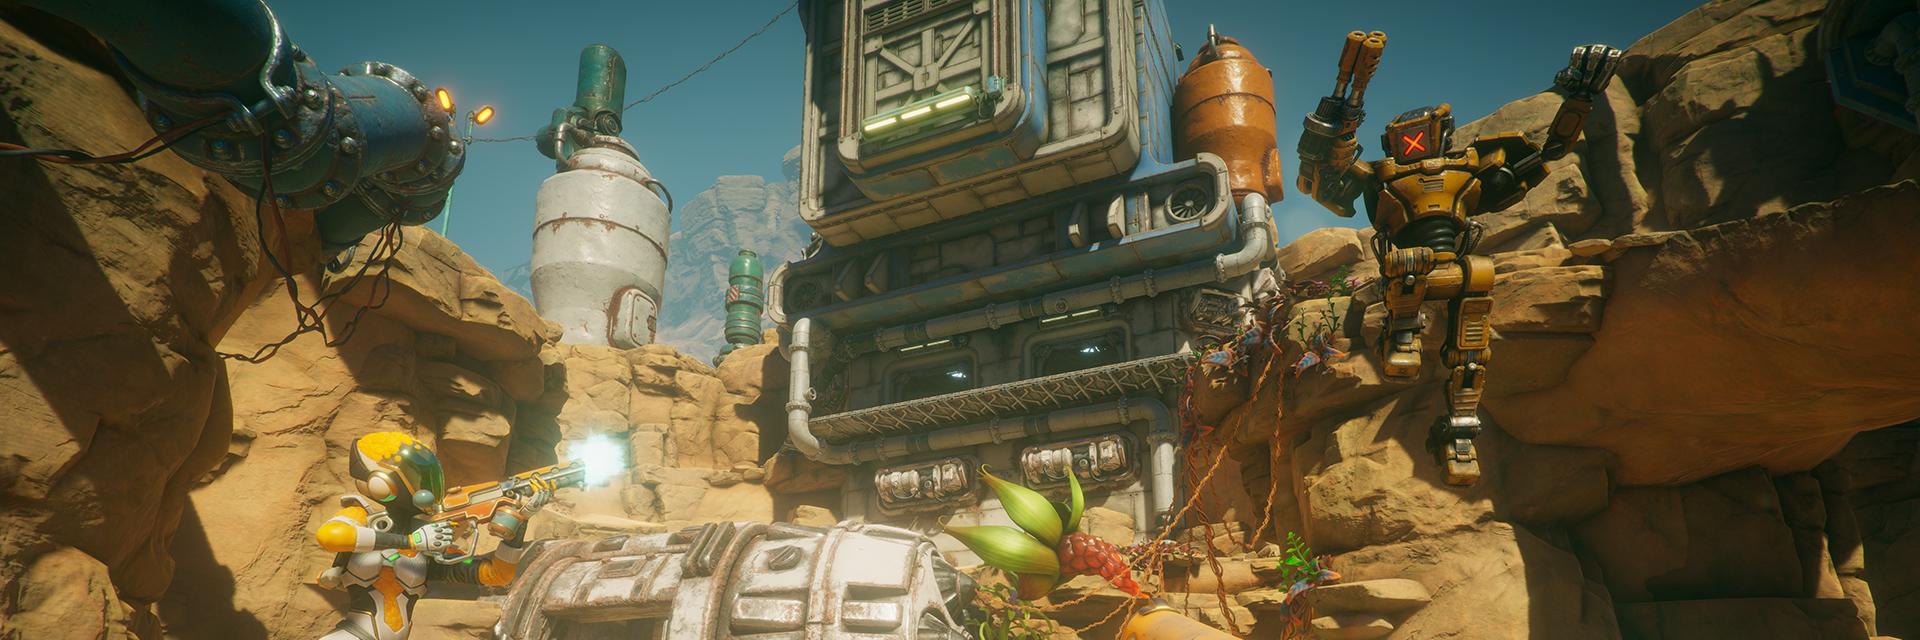
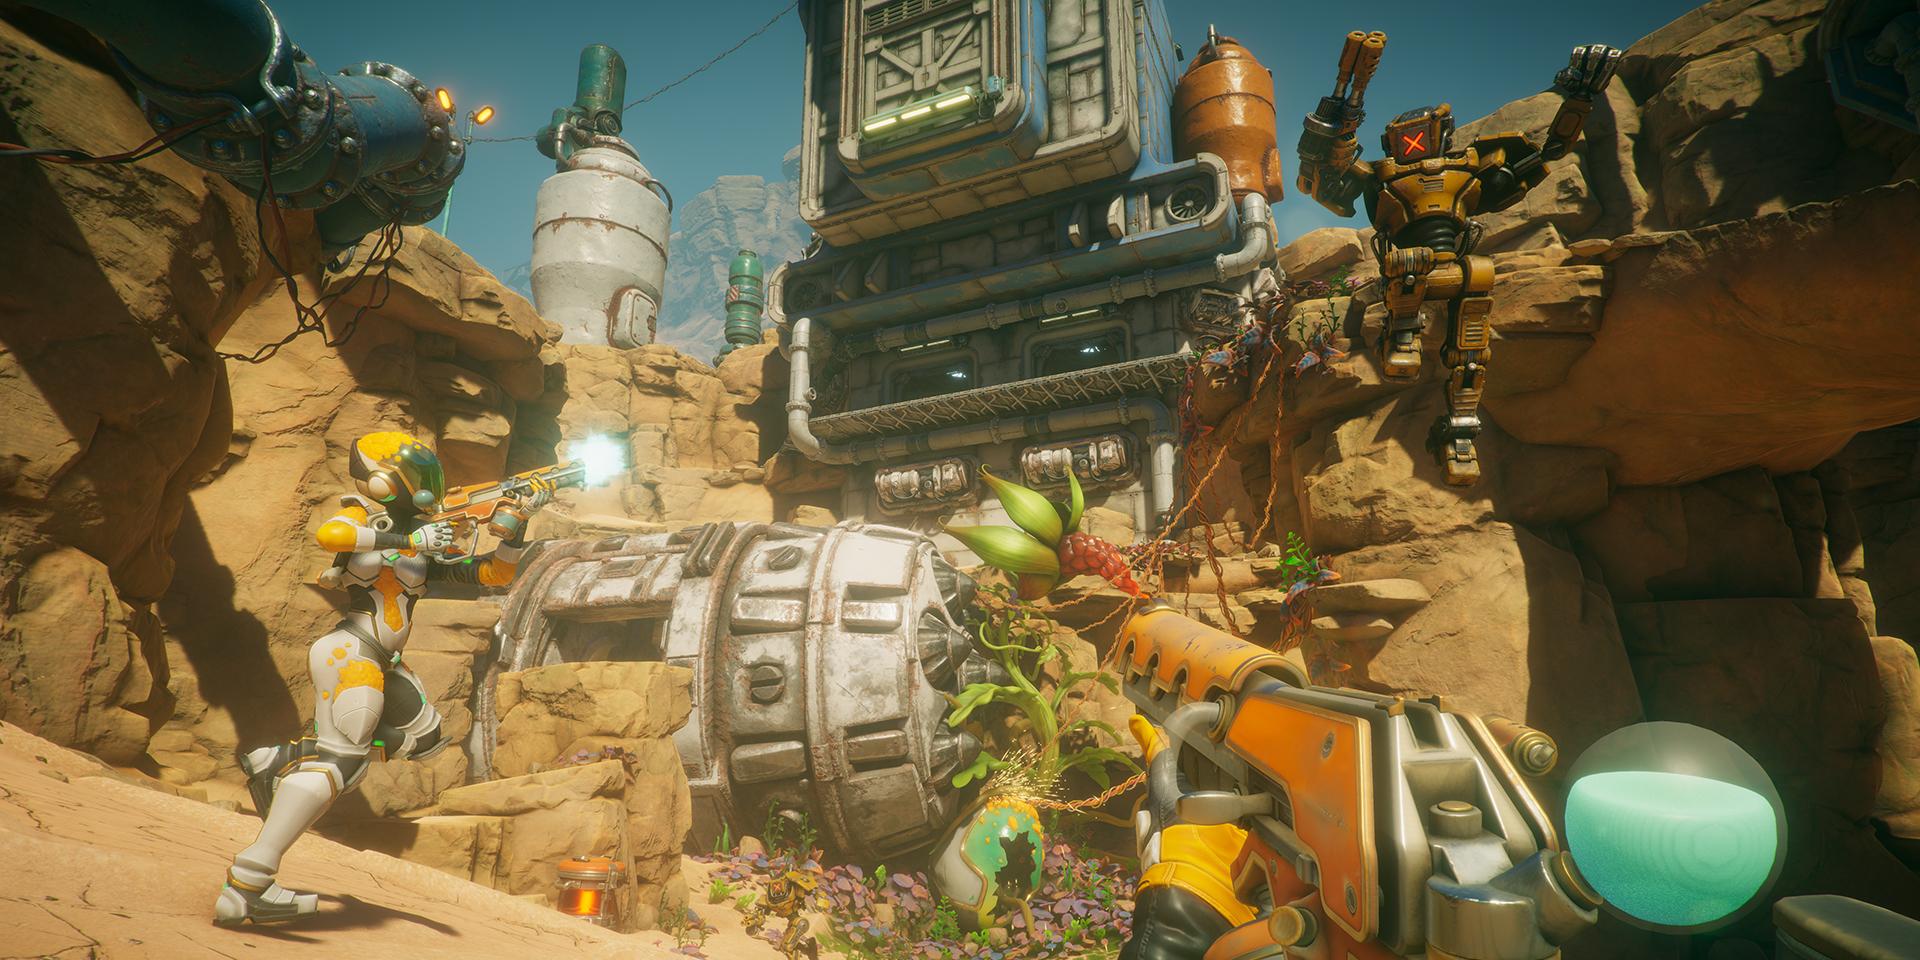
And today we’re back with more handy tips, this time for optimizing high-end graphics on consoles. Get pointers on how to reduce batch count, what shaders to avoid, rendering options, and more. These tips come from a new e-book of advanced optimization techniques for PC and console games, available for you to download for free.
Optimizing graphics for consoles
Though developing for Xbox and PlayStation does resemble working with their PC counterparts, those platforms do present their own challenges. Achieving smooth frame rates often means focusing on GPU optimization.

Identify your performance bottlenecks
To begin, locate a frame with a high GPU load. Microsoft and Sony provide excellent tools for analyzing your project’s performance on both the CPU and on the GPU. Make PIX for Xbox and Razor for PlayStation part of your toolbox when it comes to optimization on these platforms.
Use your respective native profiler to break down the frame cost into its specific parts. This will be your starting point to improve graphics performance.
Reduce the batch count
As with other platforms, optimization on console will often mean reducing draw call batches. There are a few techniques that might help.
- Use Occlusion Culling to remove objects hidden behind foreground objects and reduce overdraw. Be aware this requires additional CPU processing, so use the Profiler to ensure moving work from the GPU to CPU is beneficial.
- GPU instancing can also reduce your batches if you have many objects that share the same mesh and material. Limiting the number of models in your scene can improve performance. If it’s done artfully, you can build a complex scene without making it look repetitive.
The SRP Batcher can reduce the GPU setup between DrawCalls by batching Bind and Draw GPU commands. To benefit from this SRP batching, use as many Materials as needed, but restrict them to a small number of compatible shaders (e.g., Lit and Unlit Shaders in URP and HDRP).
Activate Graphics Jobs
Enable this option in Player Settings > Other Settings to take advantage of the PlayStation’s or Xbox’s multi-core processors. Graphics Jobs (Experimental) allows Unity to spread the rendering work across multiple CPU cores, removing pressure from the render thread. See Multithreaded Rendering and Graphics Jobs tutorial for details.
Profile the post-processing
Be sure to use post-processing assets that are optimized for consoles. Tools from the Asset Store that were originally authored for PC may consume more resources than necessary on Xbox or PlayStation. Profile using native profilers to be certain.
Avoid tessellation shaders
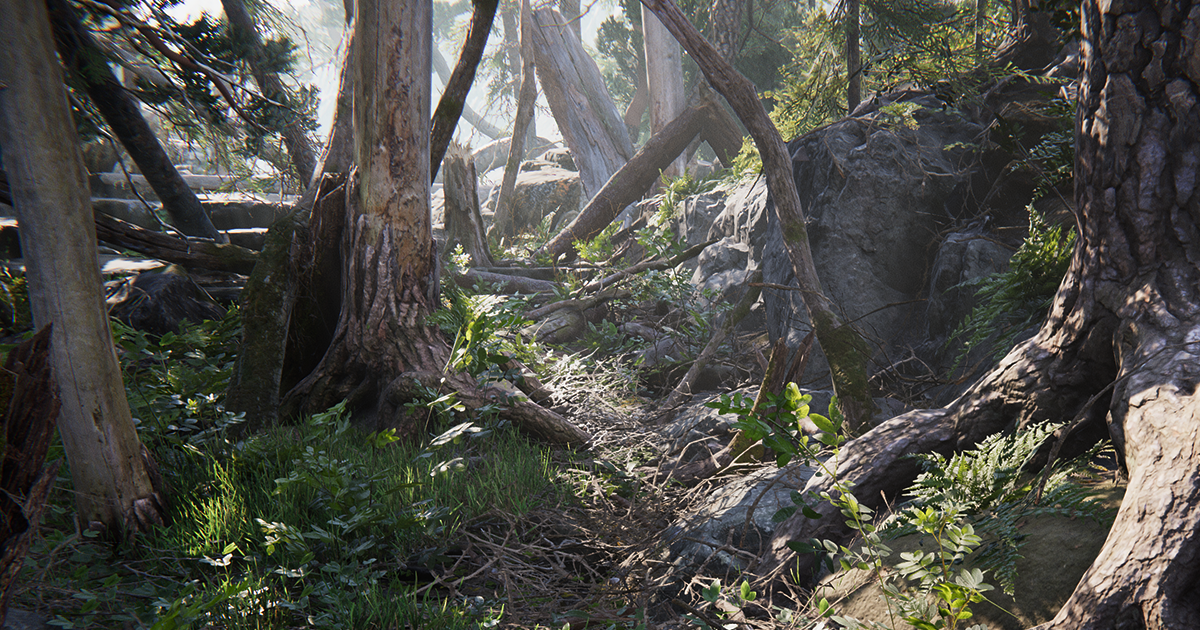
Tessellation subdivides shapes into smaller versions of that shape. This can enhance detail through increased geometry. Though there are examples where tessellation does make sense (e.g., Book of the Dead’s realistic tree bark), in general, avoid tessellation on consoles. They can be expensive on the GPU.
Replace geometry shaders with compute shaders
Like tessellation shaders, geometry and vertex shaders can run twice per frame on the GPU – once during the depth pre-pass, and again during the shadow pass.
If you want to generate or modify vertex data on the GPU, a compute shader is often a better choice than a geometry shader. Doing the work in a compute shader means that the vertex shader that actually renders the geometry can be comparatively fast and simple.
Aim for good wavefront occupancy
When you send a draw call to the GPU, that work splits into many wavefronts that Unity distributes throughout the available SIMDs within the GPU.
Each SIMD has a maximum number of wavefronts that can be running at one time. Wavefront occupancy refers to how many wavefronts are currently in use relative to the maximum. This measures how well you are using the GPU’s potential. PIX and Razor show wavefront occupancy in great detail.

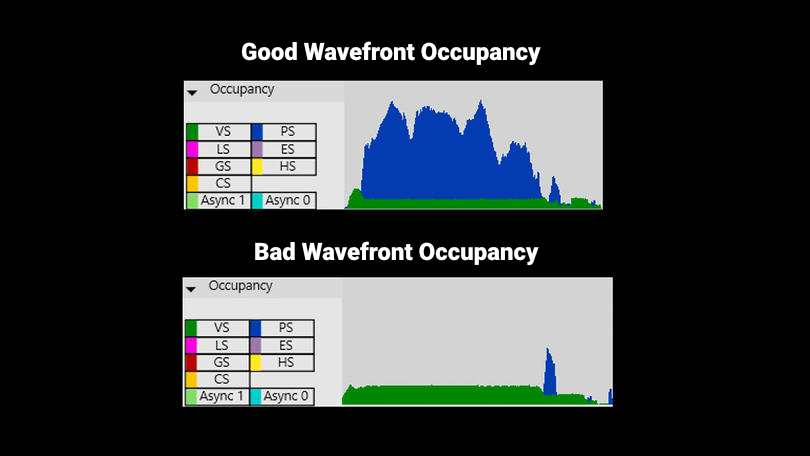
In this example from Book of the Dead, vertex shader wavefronts appear in green. Pixel shader wavefronts appear in blue. On the bottom graph, many vertex shader wavefronts appear without much pixel shader activity. This shows an underutilization of the GPU’s potential.
If you’re doing a lot of vertex shader work that doesn’t result in pixels, that may indicate an inefficiency. While low wavefront occupancy is not necessarily bad, it’s a metric to start optimizing your shaders and checking for other bottlenecks. For example, if you have a stall due to memory or compute operations, increasing occupancy may help performance. On the other hand, too many in-flight wavefronts can cause cache thrashing and decrease performance.
Use HDRP built-in and custom passes
If your project uses HDRP, take advantage of its built-in and custom passes. These can assist in rendering the scene. The built-in passes can help you optimize your shaders. HDRP includes several injection points where you can add custom passes to your shaders.

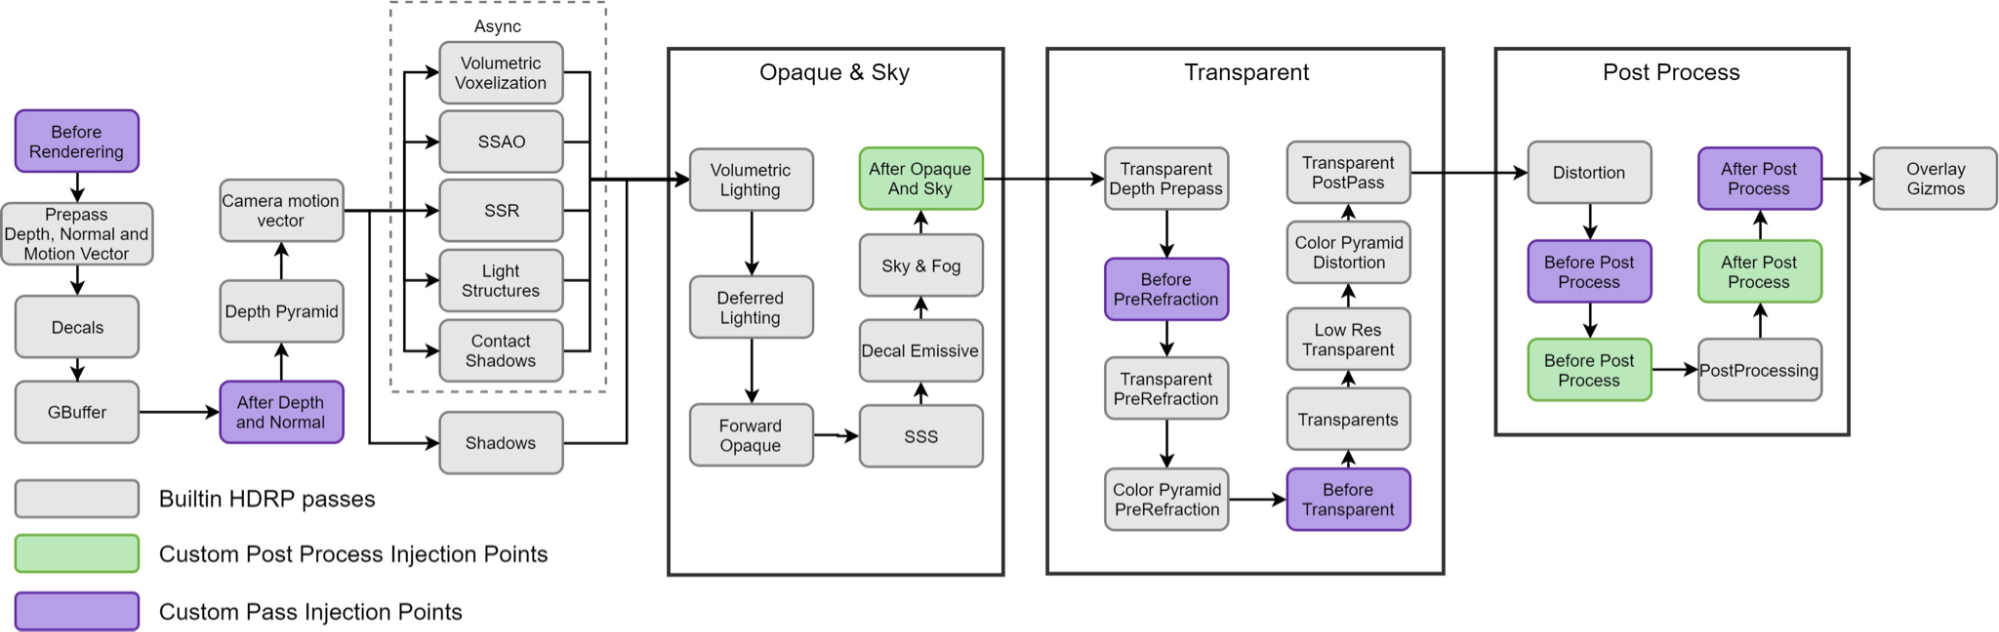
For optimizing the behavior of transparent materials, refer to this page on Renderer and Material Priority.
Reduce the size of shadow mapping render targets
The High Quality setting of HDRP defaults to using a 4K shadow map. Reduce the shadow map resolution and measure the impact on the frame cost. Just be aware that you may need to compensate for any changes in visual quality with the light’s settings.
Utilize Async Compute
If you have intervals where you are underutilizing the GPU, Async Compute allows you to move useful compute shader work in parallel to your graphics queue. This makes better use of those GPU resources.
For example, during shadow map generation, the GPU performs depth-only rendering. Very little pixel shader work happens at this point, and many wavefronts remain unoccupied.

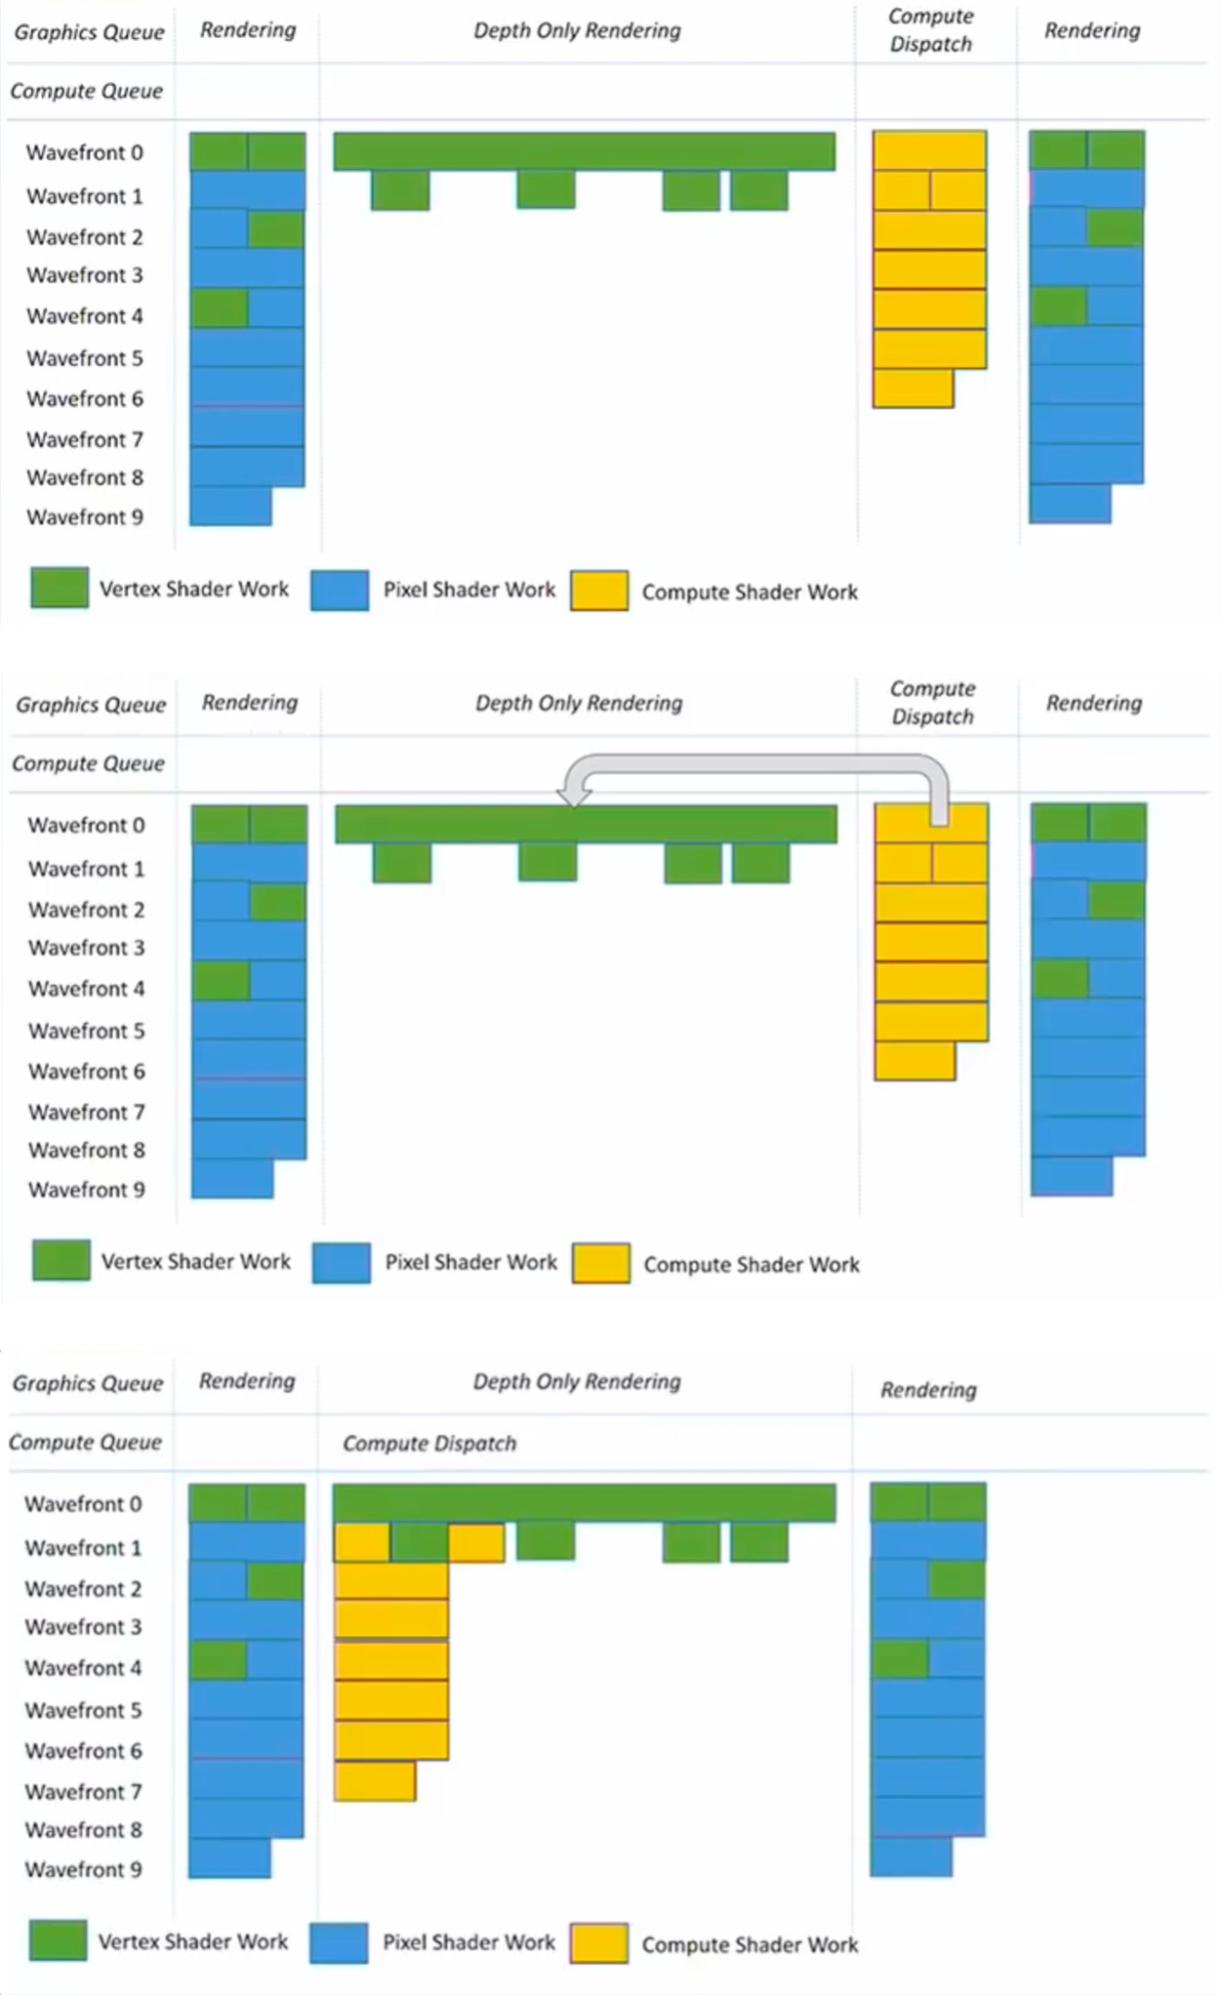
If you can synchronize some compute shader work with the depth-only rendering, this makes for a better overall use of the GPU. The unused wavefronts could help with Screen Space Ambient Occlusion or any task that complements the current work.

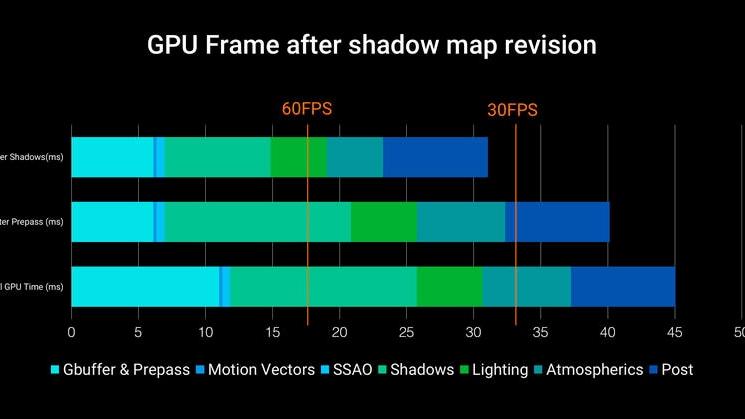
In this example from Book of the Dead, several optimizations shaved several milliseconds off the shadow mapping, lighting pass, and atmospherics. The resulting frame cost allowed the application to run at 30 fps on a PS4 Pro.
Watch a performance case study in Optimizing Performance for High-End Consoles, where Unity Graphics Developer Rob Thompson discusses porting the Book of the Dead to PlayStation 4. You can also read the corresponding 10 Tips for Optimizing Console Game Graphics for more information.
Download the complete guide on performance optimization
If you want access to the full list of tips and tricks from the team, we’ve also published a 92-page e-book available here, packed with actionable insights.
If you’re interested in learning more about Integrated Support services and want to give your team direct access to engineers, expert advice, and best practice guidance for your projects, then check out Unity’s success plans here.
Didn’t find what you were looking for?
We want to help you make your Unity applications as performant as they can be. If there’s any optimization topic that you’d like to know more about, please keep us posted in the comments.
Is this article helpful for you?
Thank you for your feedback!
- Unity Labs
- Copyright © 2024 Unity Technologies