A lightning round of great tips for 2D games


Are you planning to make a 2D game with Unity? Then take a look at these handy tips from our 2D Technical Product Manager Rus Scammell and 2D Product Marketing Manager Eduardo Oriz, that will help you get started quickly and work efficiently throughout your entire project.
Start your 2D projects with the 2D Template

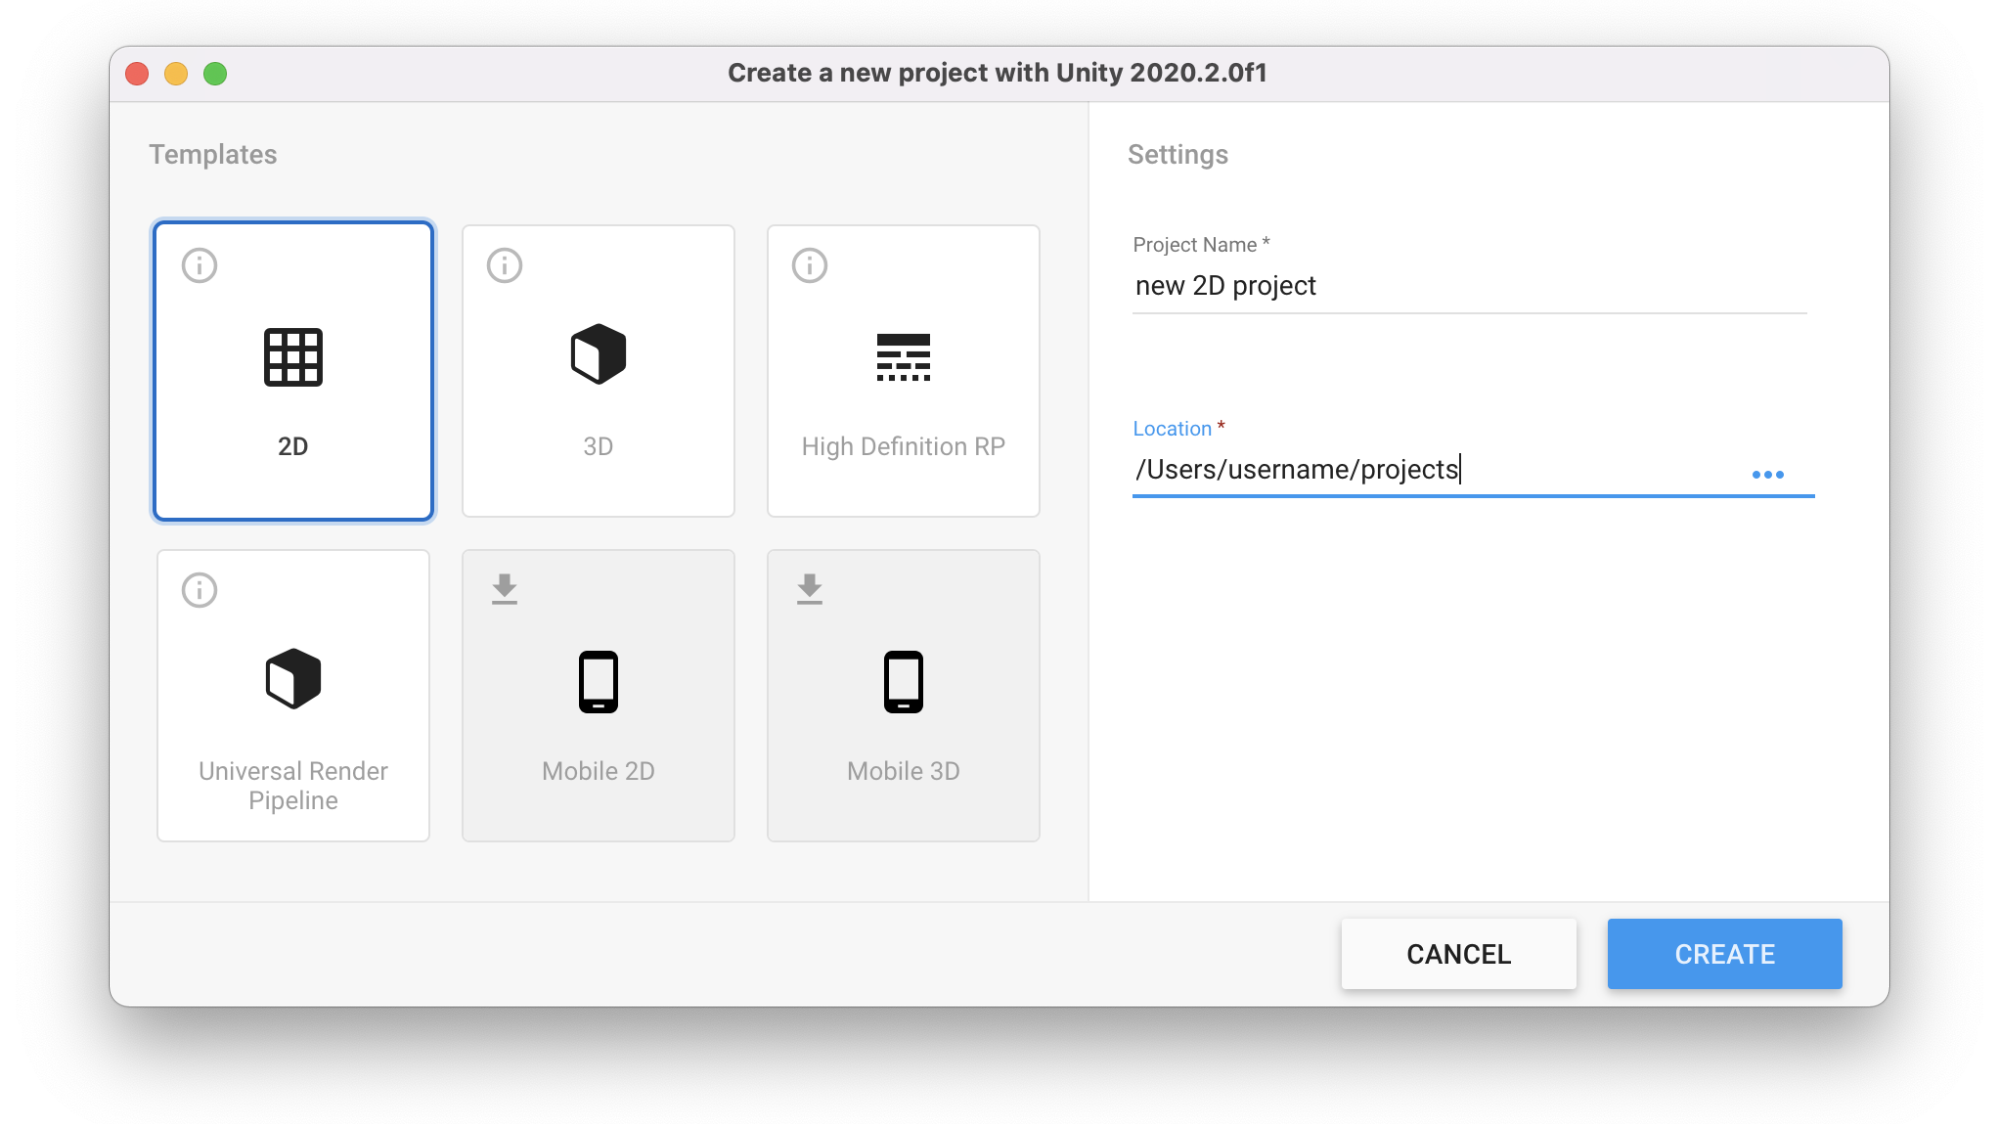
Use the 2D Template to get started fast with a new project. The template is available from the Unity Hub. Unique settings include:
- A default scene that uses a 2D view and comes with a camera set to orthographic projection and clears to a solid color
- The Editor set to 2D Mode by default so that new textures are imported as Sprites
- Real-time Global Illumination disabled
- Installation of 2D packages, including 2D Animation, 2D Pixel Perfect, 2D PSD Importer, and 2D SpriteShape, as well as the necessary dependencies

From 2020.2 onwards, the 2D menu items are displayed as top-level menus for GameObject and Asset creation. These include a set of primitive 2D Sprites for quick prototyping. Menus are also added for newer features such as SpriteShape and the Pixel Perfect Camera.
Choose the pixels per unit of your Sprites


Pixels Per Unit (PPU) is an important concept in 2D development. A Sprite’s PPU determines how many pixels of width or height in a Sprite image correspond to one unit of distance in world space.
Consider the PPU of your Sprites as early as possible. Apart from controlling pixel density, the PPU also affects how Sprites are used by the Sprite Renderer draw modes as well as other systems like Tilemap. Choose a pixel density that suits the design of your game and target platform, and avoid unnecessarily large textures.
Use the 2D PSD Importer


The 2D PSD Importer imports layered Adobe Photoshop PSB files into Unity. It enables you to use features such as Mosaic to automatically generate a Sprite Sheet from the imported layers and character rig. Unity then reassembles the Sprites of a character as they were arranged in their source files. The Importer is designed to work optimally with the 2D Animation system and multilayered character workflows.
Reduce overlapping pixels


Aim to reduce the number of passes required to draw the final color to the screen. When pixels are semi transparent, you must consider each overlapping pixel when calculating the final color. Overdraw of overlapping transparent pixels slows down GPU performance, especially on less powerful devices or when higher frame rates are required. All of the Sprites in your scene will be considered transparent, but there are ways to reduce the overdraw.
Unity will overdraw the pixels only inside your Sprite Mask. With full rect, the complete area will overdraw, but if the Mesh Type is set to Tight the area to overdraw is reduced since the generated mesh follows only the outline of your Sprite, ignoring the empty areas. If you want to have more control over the outline of the mesh, you can change it from the Sprite Editor.

You can also reduce overdraw by merging overlapping static Sprites. If the Sprites don’t have to move or you don’t need them for a parallax effect, consider merging them once your level design is finalized.
Combine Colliders


When you have many Sprites with static 2D Colliders, combine them with the Composite 2D Collider component. This provides better performance and a smoother collision with the entire surface. The Composite Collider can be used with Tilemaps; in the image above, the purple tiles on the screen are used as Colliders. You enable it by adding the component and checking the Composite box.
A Composite 2D Collider can also be used with parent GameObjects. Make sure the child Colliders are enabled by checking the box Used by Composite. Another way to optimize Colliders is to manually draw a simple polygon that works well with your GameObject.
Tilemap Renderer

Every Renderer attached to a GameObject like a Sprite has some overhead. To display many static Sprites efficiently use the Tilemap Renderer for a more performant and convenient way of designing your game. You can render hundreds of Sprites with just one Renderer. When you have many Sprites to render but you don’t require sorting, use Tilemap Chunk Mode to reduce CPU and memory usage, which is important if you’re targeting low-end devices. To use it, put all the static tiles in the same Tilemap, and enable Chunk Mode.
Make sure that all tiles are also in the same Sprite Atlas. The tiles might not be displayed correctly in the Scene View, but they will be sorted correctly when you enter Play Mode. One approach is to design your level using Individual Mode and change to Chunk when you are ready to publish.
If you need Sprites to be sorted correctly, for example, to move a character in front and behind the individual tiles, use Individual Mode. For Sprites that need to be moved or have gameplay functionality, use Regular Mode.
Bake Sprite Shapes for better performance
Sprite Shape is the 2D tool to design organic shapes and levels. By default, the Sprite Shape API allows you to change the nodes of the spline at runtime, which can impact performance. If you don’t require that runtime change then you can bake or cache the geometry of the spline for better performance. Select Sprite Shape Controller, enable Edit Spline and then Cache Geometry to bake the mesh. If you use Unity 2019 LTS or later versions and are modifying the spline at runtime, then you can get a big performance improvement by installing the Burst package. Go to the Package Manager and install Burst version 1.3 or later.
Create art fast with Sprite Shapes


You can use Sprite Shape Profiles to design environments similar to how you would with vector drawing software. The Profiles can be used for both gameplay and decorative elements. They work well for different art styles and filling large areas fast, all while using fewer assets.
Have fun with 9-slicing Sprites and Sprite tiling
The Draw Modes of the Sprite Renderer help you save on the size of your assets and make the process of designing levels more fun. With Tileable Sprites, you can have different GameObjects using the same Sprite in different sizes without stretching it. Go to the Sprite Editor and move the yellow handles to frame the part of the Sprite that will be tileable. Apply it and then go to the GameObject and change the Sprite Renderer Draw Mode to Tile Mode.
You can also design your level with 9-slicing Sprites, using blocks that look sharp and proportionate while you scale and arrange them. In the Sprite Editor, select the area that should be tileable and make sure that the corners fit in the corner area that won’t be repeatable, and then select Draw Mode to slice.
Use Transparency Sort Mode
When you are designing 2D games, there will be situations where some of your GameObjects will be in the same sorting layer and order. You could create many layers and some logic behind your moving Sprites to show them in the right order, but this isn’t efficient. The way we tell Unity the right order to render a Sprite in those situations is with the Transparency Sort Mode under Project Settings. Unity sorts Sprites in the order described by the direction of a Vector2 (defined by the axis X and Y in these settings). See how Unity’s Eduardo Oriz, product marketing manager and Rus Scammell, product manager, set up this optimization at around the 9:15 mark in their Unite Now talk.


Get started with 2D animation
Creating a frame-by-frame animation clip in Unity is simple. Select a sequence of Sprites in the Project window and drag them into the Scene view or the Hierarchy window. An animation clip and an Animator will be made for you automatically.
If you want to add the animation clips on an existing Animator, simply drag those animation frames onto the Animator’s GameObject. The clip will be added to the Animator. Hold down the Alt or Option key while dragging the animation frames into the hierarchy if you want to create a different GameObject for each Sprite.
Frame-by-frame or bone-based animation: Which one’s right for you?


Unity supports both frame-by-frame and bone-based animation. Here are the key differences between the two approaches:
Frame-by-frame
- Each frame uses a unique Sprite
- Additional animation clips require more Sprites
- Frame rate and speed are usually constant
- Transition animations require additional Sprites
- Does not work with 2D Inverse Kinematics (2D IK)
Bone-based
- Each animation frame uses the same Sprites
- Each animation clip uses the same Sprites
- Works well for variable animation speed
- Animation system can create transitions for clips
- Works with 2D IK
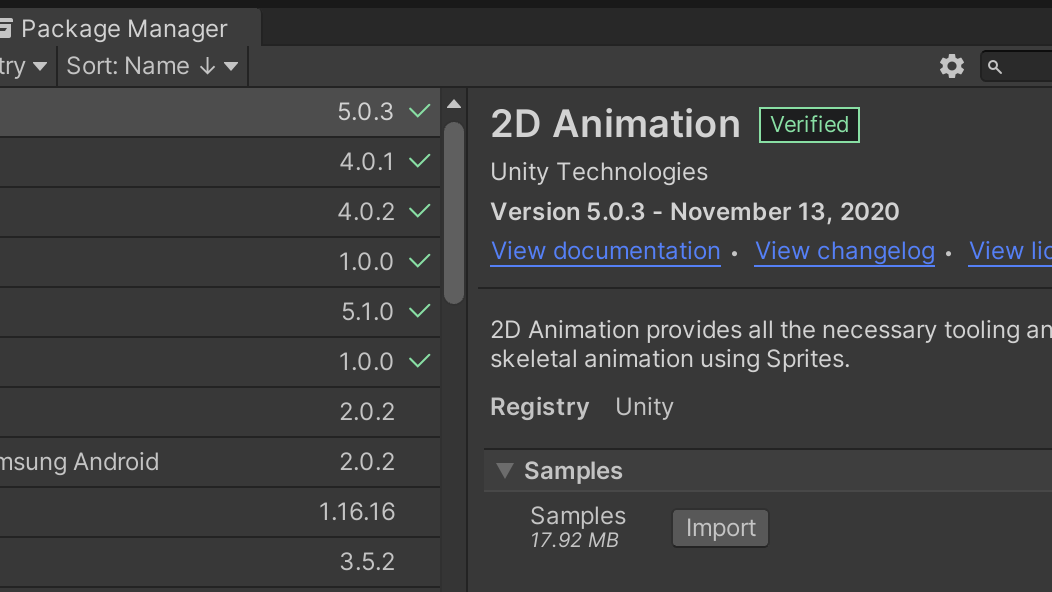
Increase 2D animation performance with Burst


Install the Burst/Collections packages to optimize 2D animation performance for high bone counts and Sprite meshes with high vertex counts. Animated Sprite deformation at runtime will also get a performance boost. This works by allowing the 2D Animation package to use Burst compilation and low-level array utilities to speed up Unity’s processing of the Sprite mesh deformation.
Make sure you are using Unity 2020.2 as well as 2D Animation 5.0.x. When you install the Burst package 1.3.3 or newer you should also install Collections which is a Preview Package.


Use custom tessellation for 2D animation


When preparing a Sprite for rigging, you have complete control over the mesh. To start quickly, the Skinning Editor provides an automatic tessellation option. However, you can customize this by using the mesh tools to add and remove vertices to craft the mesh that you need.
Use 2D Physics with 2D Animation


Add 2D Colliders and Rigidbody 2D components to bone-based characters to drive motion via the 2D Physics system. In the example image above from Eduardo’s and Rus’s talk, Capsule Colliders were added to each bone as well as to Rigidbody 2D components. They were then connected with Hinge Joints. You can use angle limits on each joint to limit the range of motion and you can also toggle whether the Rigidbody components connected via a joint collide with each other.
Keep your pixel art beautiful and sharp


Keep a consistent pixel density across all of your assets. If your project has 32 PPU, for example, you can expect one unit to contain 32 pixels, like the tile to the left side of the above image.
The default 2D Camera expresses size in vertical units from the center of the camera. In the example image here, we can fit 10 tiles vertically:


If your assets appear too small when you add them to the Scene view, compared to your original reference image, it’s most likely due to a mismatch of resolutions.
Unity’s default PPU for sprites is set to 100. When we change the Sprite Asset configuration to our project’s 32 PPU, the sprite will then be the correct size.


By default, Bilinear Filtering is enabled for assets to smooth out hard edges, but if you want a retro-style pixelated look then you change the Filter Mode to Point to get sharp-looking visuals that take up the screen space defined at the start.
Use presets for consistent texture import settings
When you have many assets to import to your project, changing the setting for each individual Sprite to match your project settings will be time-consuming. Instead, create an Import Template or Preset so that every imported asset will have the predefined configuration that you want. To do this:
- Select an asset with the configuration that you want
- Click on the Settings icon next to the Sprite Asset to create a template from it
- Save it with a name that helps you remember what it does
- Make it the default so that all new imported assets will have that configuration (you will see the Preset Asset in your Project view)


If you are working with pixel art, make sure that the screen always shows the same number of pixels and that all those pixels stay the same size. First, go to your Camera and add Pixel Perfect Camera. Set the Asset PPU to the one that you use in your pixel art.
Once you add the Pixel Perfect Camera component, it will take control of the Camera on Play Mode, but you can also see the changes in the Editor if you enable Run in Edit Mode.


In your project, characters and objects can change their position, rotation, or size. By default, they will have a smooth interpolation, but if you want to stay true to the pixel art limitations indicated by the PPU of your project, enable Upscale Texture. The GameObjects will move in increments of one pixel. The rotation and scale changes will also respect the visual constraints. Learn more about tips to create retro-looking 8-bit and 16-bit games.
Stay productive in the 2D Editor
Sorting Groups: Sorting Groups allow you to group 2D renderers together. You might be using Sorting Layers and Order in Layer to make sure the rendering order is correct for each character, but this won’t work if there is overlap and the individual parts become interlaced.


You can place a Sorting Group on the root GameObject for each character to group the Renderers and sort them as one. With the Sorting Groups, the characters no longer interlace and sort as a group. Sorting Groups work with all 2D Renderers as well as Particle Systems.
Sprite Atlas: This Asset packs several Sprites into a single combined texture. Unity can then use this single texture to increase performance by issuing a single draw call instead of multiple draw calls for each Sprite that is located in a single folder.
By adding a folder to a Sprite Atlas, you can freely add and remove Sprites from your Sprite Atlas over the course of your production by simply changing the contents of the packed folders.

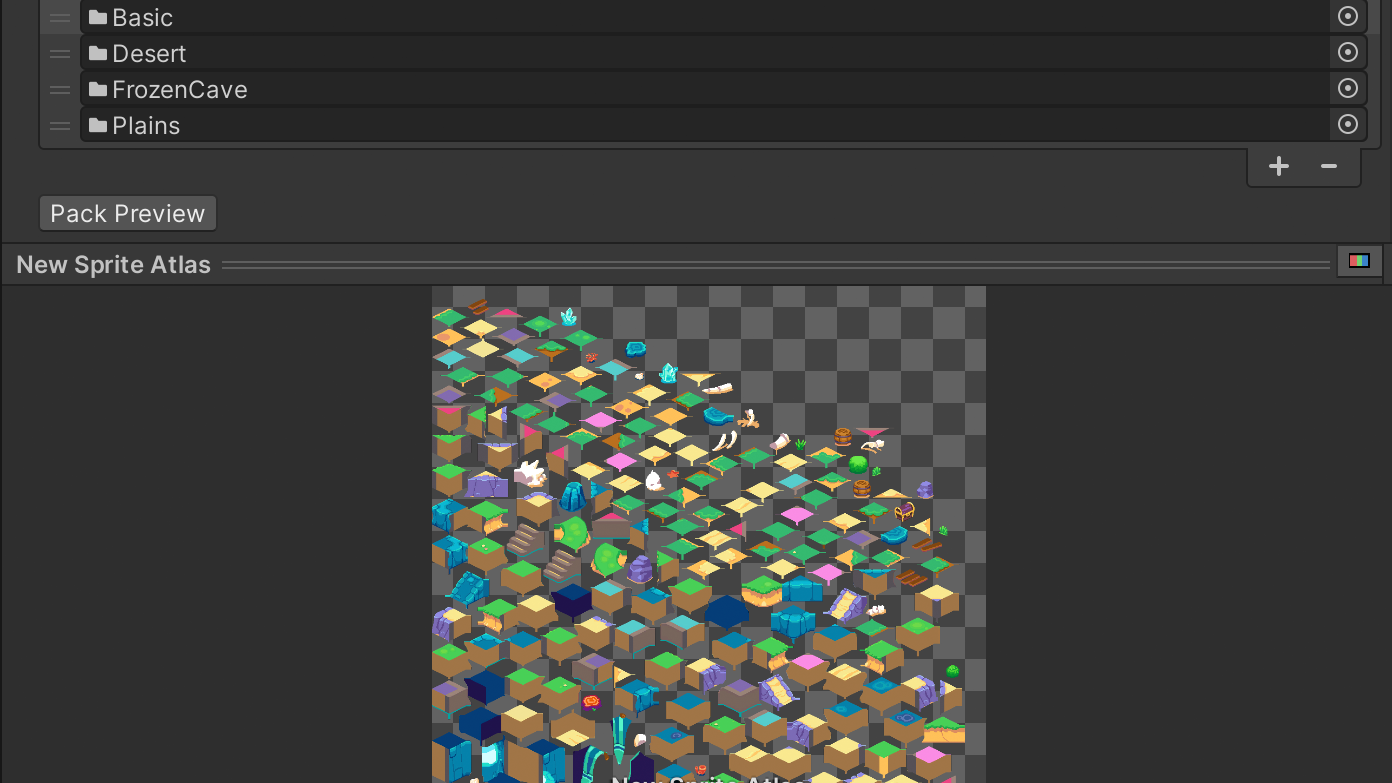
It is also possible to create variants of Sprite Atlases that are at different sizes or have different compression settings to target a range of platforms with the same source assets.
You should consider an atlasing strategy that works for your game. Sprite Atlas has been designed so that you can find a balance between productivity, flexibility, and performance.
Pick up more valuable tips and tricks for 2D game development
See how we’re empowering 2D artists; learn about how Odd Bug used 2D lights to create mood in their game Tails of Iron; download the 2D sample project The Lost Crypt, and read this in-depth guide on choosing the best resolution for your 2D assets. Finally, you can watch Eduardo’s and Rus’ Unite Now presentation here.
Is this article helpful for you?
Thank you for your feedback!
- Unity Labs
- Copyright © 2024 Unity Technologies